Author Archives: Bhamini

Old to handy and new

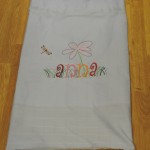
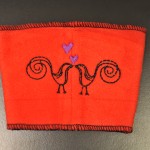
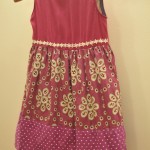
I take the memories of when my lil girl wore this, around with me everyday in my cute little hand bag. Its especially handy in the summer time when I’m not wearing anything that has pockets and I’m not worried about the bag getting dirty as we frolic in the mud and sand in the playground. I can just throw it in the wash!

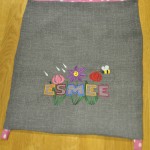
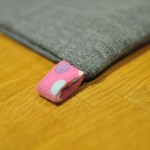
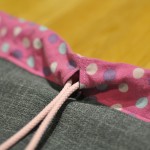
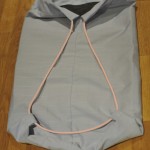
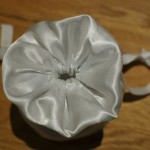
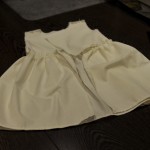
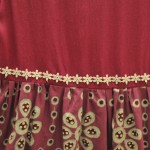
To make this I’ve sewn the bottom of the skirt together. For the shoulder straps I’ve used the skirts from another old corduroy dress. I simply cut two strips, sewed up the ends, folded over lengthways and turned them into straps. I then tied them to the belt loops so the bag looks rather grungy. I’m planning to add a zipper at the top but am find the pockets particularly useful for keeping keys – they don’t fall out either!

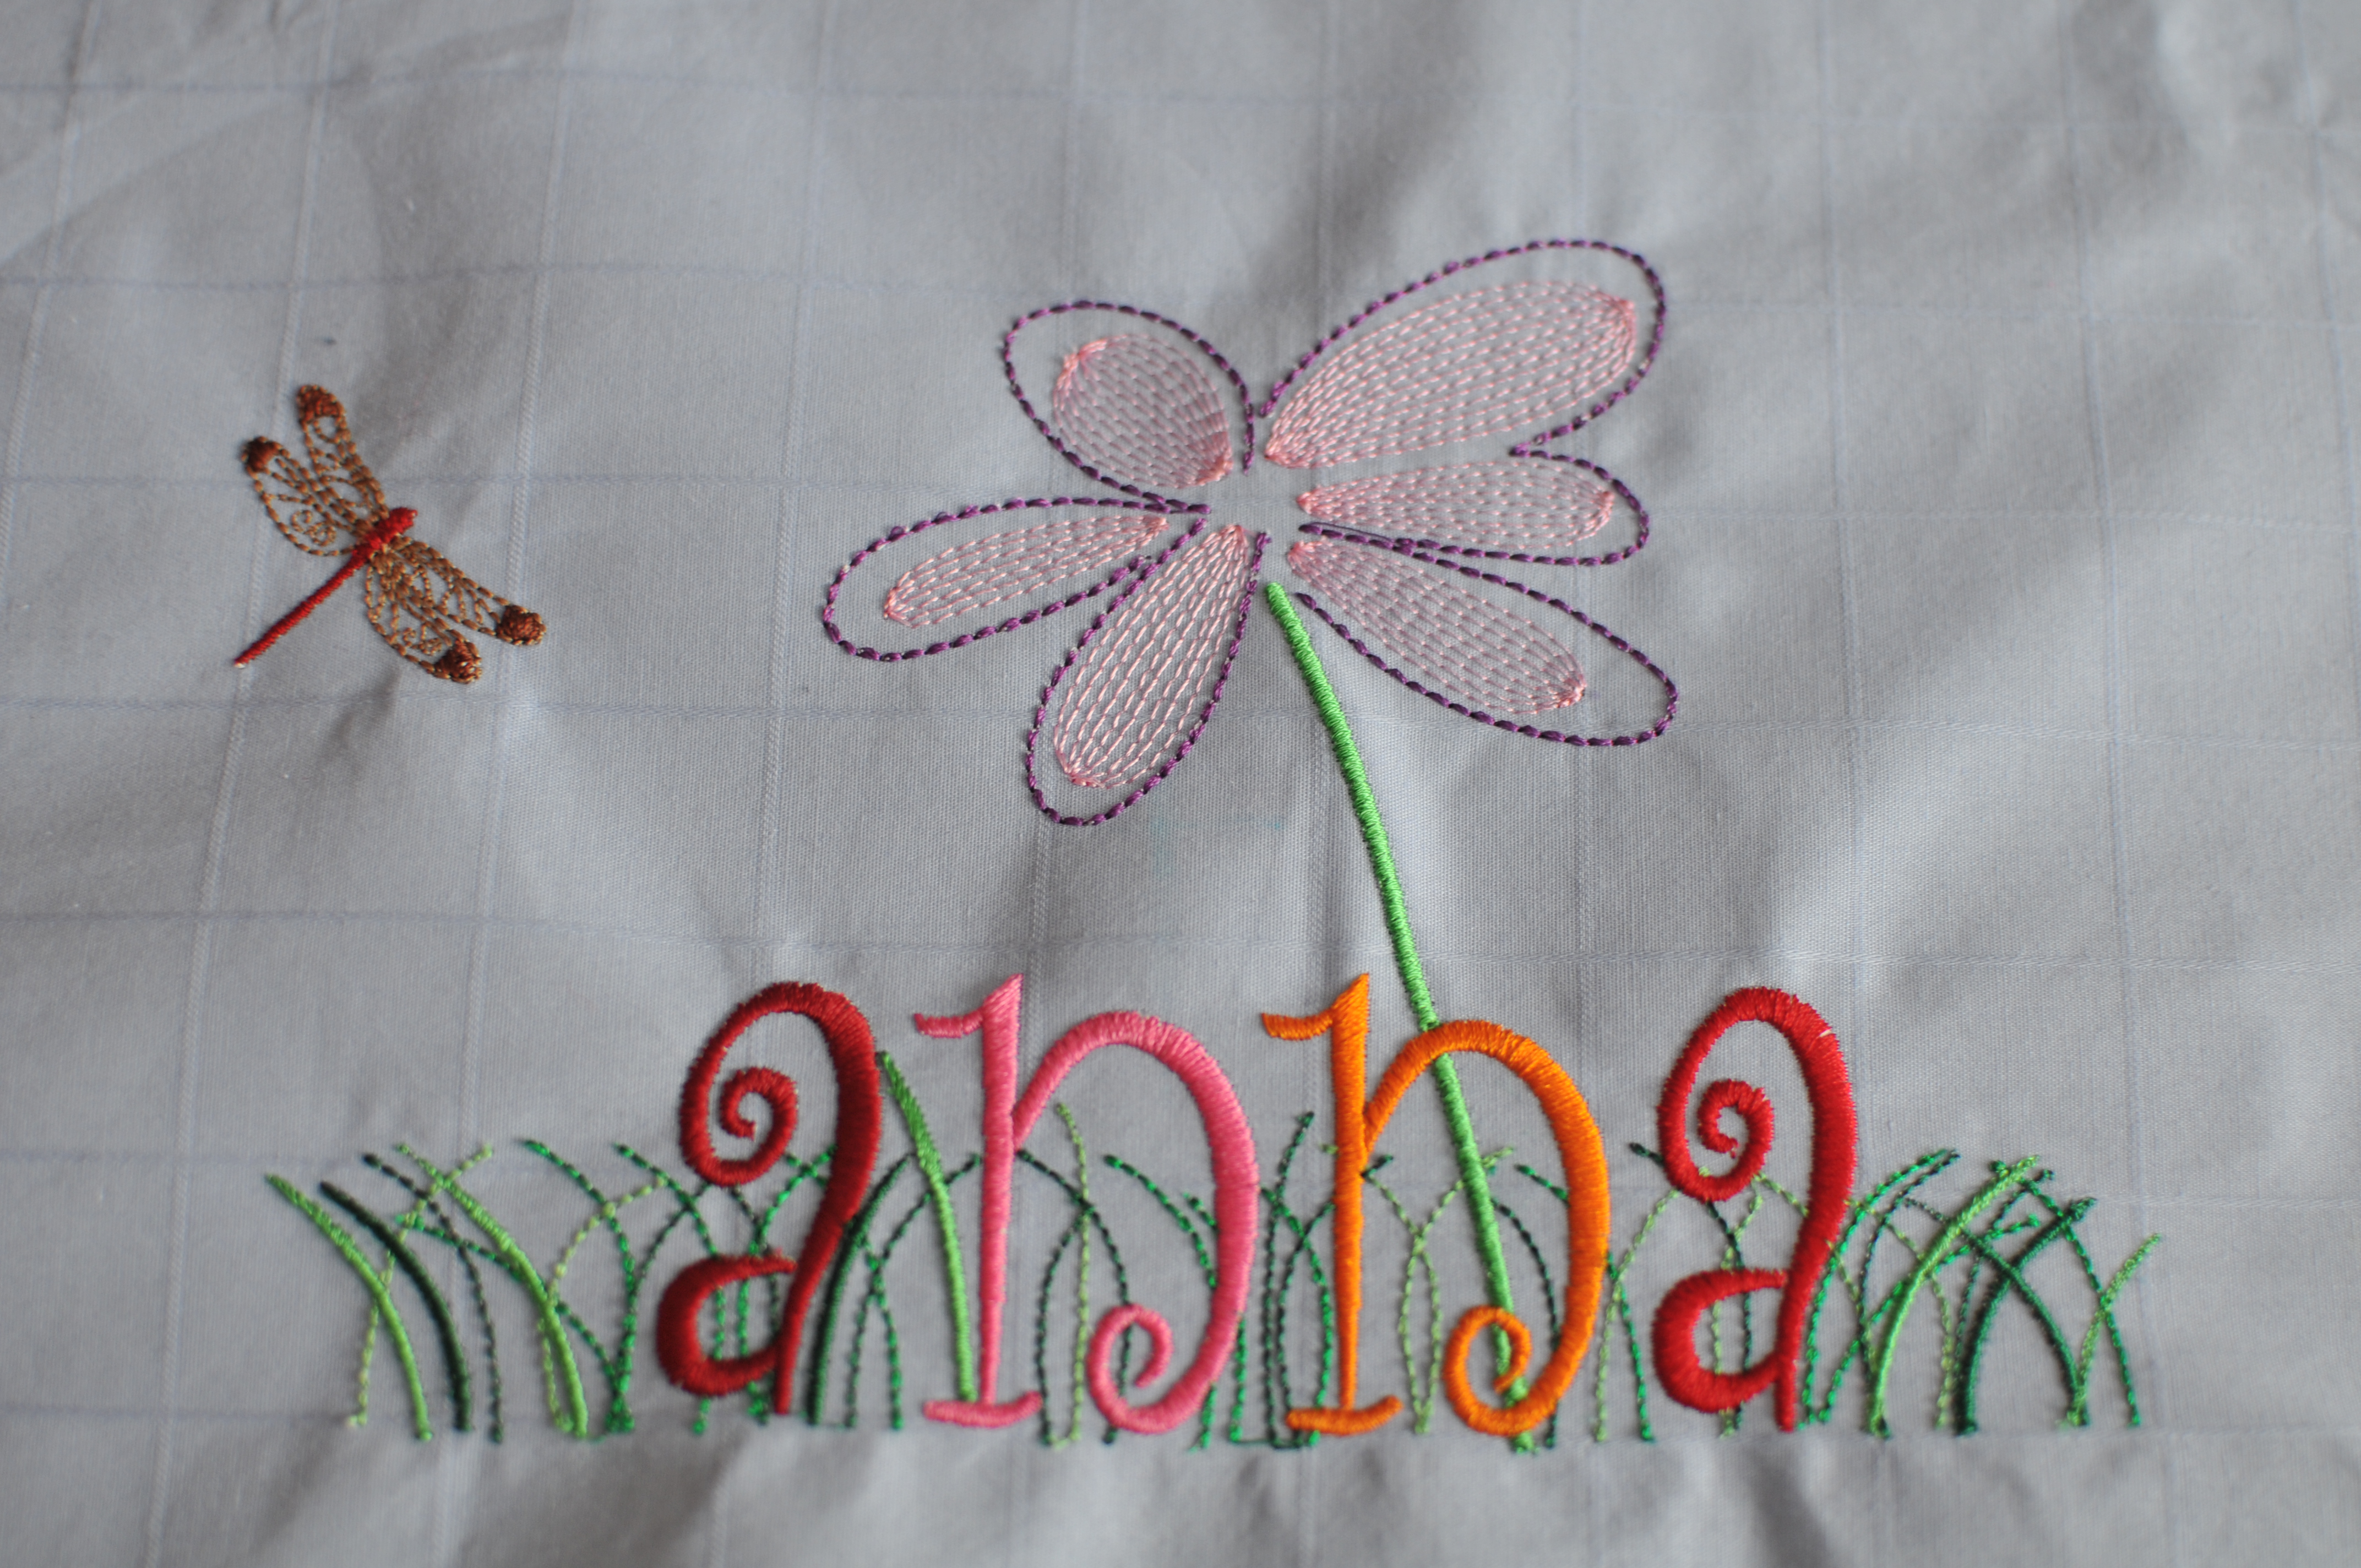
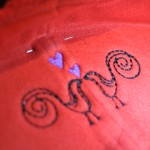
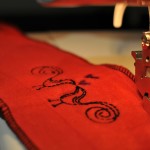
I did break a needle in the process as the skirt is quite thick in places but a Schmetz 100 did the job nicely. I’ve been tested some new polyester Somac threads, my Bernina likes them and they are holding up nicely with the wear and tear.
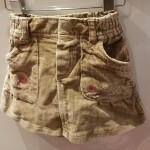
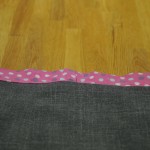
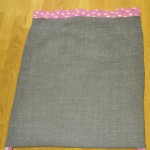
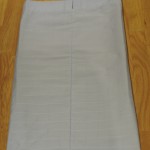
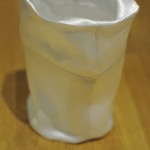
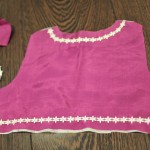
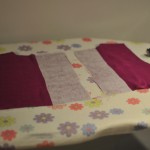
Indian inspiration – Happy Divali!

I decided to create some decorations in time for Divali and found some old sari scraps that I appliquéd onto some canvas which I then framed. I was so pleased with the end result that I planned to create many more and sent this one to my friend far far away. No time yet for more…

Elephant

Esmee’s embroidered PE bag

Remade from an old skirt and its lining. Vibrant embroidery so there is no mistaking it! Very easy to construct. Attach folded over strip at top of outer bag to make casing for drawstring. Attach loops at bottom of bag. Then sew up lining and bag. Top stitch casing. Thread through the drawstring. Easy as chips.

Esmee embroidery

Esmee embroidery

Custom embroidered school PE bag

Embroidered flower and dragonfly with anna growing in the grass. This was remade from an old shirt with some lining taken from an old skirt used to make another PE bag.

Made the same way as the next blog.

Anna's PE bag


Bridal bag to match the dress from dress off-cuts

After cutting off part of the skirt from the wedding dress, the off-cuts were used to make a lil’ something for carrying essential tidbits and still looking elegant on the big day. Luckily there was enough fabric for this to materialise! My daughter loved it so much she decided she needed one to (to carry her much needed fluffy rabbit during the wedding, of course).

Finished bridal bag

Here’s how I made it.

Materials:
top: 2 x 21 cm width x 9cm height panel
circle: 2x 12cm diameter circle (size of CD) + 1cm seam allowance around edge
side panels:  4 x 19+2cm width of side panels x 10cm height of bag + 2cm seam allowance
cording: 2x 50cm lengths of ribbon.
  1. If using fine silk fabric, baste both inner side panels and inner circle with fusible interfacing.
  2. Fold both top pieces in half along width, press.
  3. Make a sandwich of outer side piece with folded top piece in between and inner side piece on the bottom, right sides together as in picture 1. Ensure raw long edges of top piece are aligned with long edge of side panels.
  4. Pin one edge of top piece to outer side piece and sew. Pin the other edge of the top piece to the inner side piece and sew.
  5. Repeat with remaining inner, outer and top pieces.
  6. Open out flat and mark where 2cm gap for tie should be on both raw edges of top piece adjoining the outer bag pieces – 2.5cm and 4.5cm down from fold of top piece.
  7. Pin both sets of sewn panels right sides together and sew along both long raw edges leaving gap marked in previous step and 6cm gap in inner panel for turning bag inside-out.
  8. Press seams open as in picture 2, taking care not to iron out the fold in the top piece.
  9. Keeping bag as cylinder, mark circles into eighths (by folding into half and half again, twice). mark bottom of inner and outer sides into eighths.
  10. Pin and sew outer circle to bottom of outer cylinder. Turn bag inside out through side opening. Pin and sew inner circle to bottom of inner cylinder.
  11. Turn bag right side out through the inner side opening gap and sew up gap just barely catching the edge of the fabric. Stuff the lining into the bag.
  12. Mark and sew two parallel lines 3.5 and 5.5 cm down from top edge of bag to create casing for cording.
  13. Thread first length of ribbon all the way through the casing using a safety pin. Tie ends of ribbon together. Thread second length of ribbon starting on opposite side of bag to first ribbon. Tie ends of ribbon together and trim ribbons if necessary.
  14. Pull both ends of tied ribbon, one with each hand et voila, the bag is drawn closed.

Pimp my car cake

Car cake

Car cake

Ok, so this one is not a remake but I’m not a big fan of icing sugar.

This cake is covered in a chocolate ganache and the car detail added using fruits. It was for our valentine baby so we even did a big heart on top.


Heart on my sleeve

A fun coffee cup sleeve for Valentines day. It put a smile on my Valentine’s face 🙂 Its a very simple design but works so well on some red fleece reclaimed from an old hat.

That centre seam you can see was one side of the hat hence the fabric was a bit curved so it was tricky to work with in the hoop, actually impossible to hoop at all. And it was the only red fleece I had to work with.

Hooping a cutaway stabiliser worked really well with the fleece fabric spray-glued and pinned to the stabiliser for extra holding. The curve actually worked nicely on the sleeve, it fits the cup nice ‘n snug.

Sleeve

Sleeve


A dress for Christmas

Finished dress

Finished dress

We needed a new dress for Christmas so cut up an old maternity top for bodice. I found a bit of trim to add a touch of glamour and cut up an old sheet for the lining. The skirt was made using 2 fat quarters and it all worked together pretty well.

It was the first time I’d made a dress with lining and the armholes were a bit tricky for me to do with bias binding but it turned out pretty well. I just can’t get my model to keep still to get a good enough photo.


Swim Bike Run Fleece

A fitting fleece for my Iron man. Attracting lots of attention already.

After washing

After washing – perfect!

Not the best lighting but I lurve the contrasting embroidery, it turned out lovely on this very thick fleece. Need a model in daylight for a better picture.

I will certainly do more work on fleece as the embroidery seems to turn out so well even on a thick pile.


Swim Bike Run coffee sleeve

Close up

An embroidered fleece coffee cup sleeve made out of an old fleece sleeve!

This is perfect for the triathlete in my family who needs a warming cuppa on a cold day after that long long swim, bike or run… or all of the above.