Note: All seams are sewn with 1cm seam allowance, included in the pieces.
In addition to your kit you will need
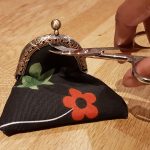
- scissors
- sewing machine (unless sewing by hand).
Instructions
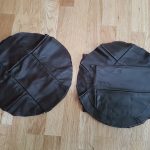
1. Iron flat your Outer fabric pieces. Steam iron one by one, an interfacing piece to an outer fabric piece, taking care to ensure the bumpy side of the interfacing is face down on the wrong side of the fabric.
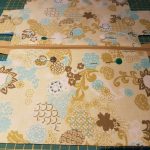
2. Attach your fabric (outer and lining) to the zip.
-
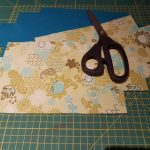
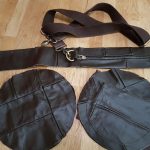
- Cut 2 pieces from outer fabric, 2 from lining. Interface outer fabric with medium firm fusible interfacing.
-
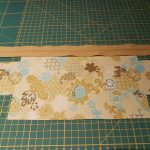
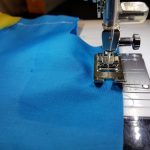
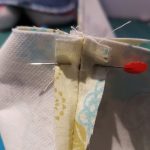
- Lay 1 piece of outer fabric face up. Lay zip on a long edge face down. Pin zip to fabric. Sew along edge.
-
- Lay lining face down on zip already attached to outer. Align lining edges with outer fabric edges and pin.
-
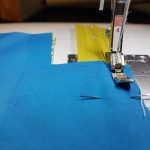
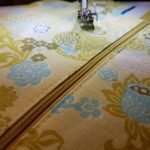
- When attaching the zip, use a zipper foot and keep the foot as close as possible to the zip teeth. Just make sure you don’t sew into the teeth!
-
- The stitch should be a short (2.5mm) stitch, nice and straight. Go over it a second time if its not quite straight.
-
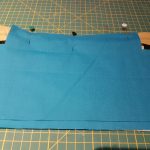
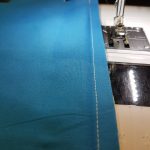
- Flip fabric over so right sides are out. Press.
This can be done in one single step if you feel confident doing it; Make a sandwich of the zip in between the outer fabric and the lining. The zip should be face down on the right side of the outer fabric. The lining and outer fabric should be right sides together. Pin and sew.
3 Attach fabric to other side of zip
-
- With zip and attached outer fabric facing up, lay 2nd piece of outer fabric face down, long edge lined up with zip edge. Pin and sew along zip edge.
-

- Turn over attached fabric and zip. Lay lining face down, long edge aligned with zip edge. Pin and sew along zip edge.
-
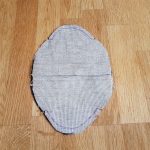
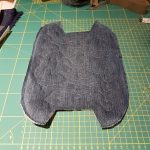
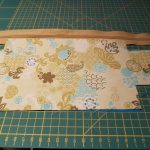
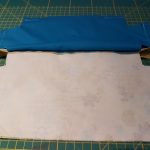
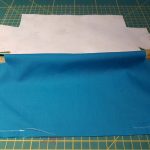
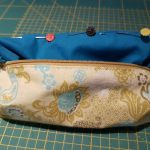
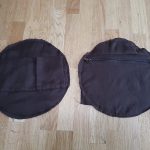
- Lay outer and inner fabric flat as shown. Press and Pin.
-
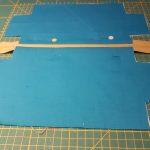
- Turn fabric over and ensure lining is also flat. Re-pin and press as necessary to get everything nice and flat and edges aligned.
-
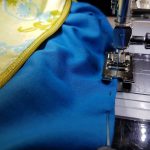
- Top stitch along sides of zip using edging foot if you have one.
4 Sewing the edges of the pouch.
-
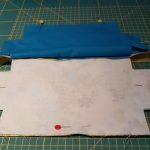
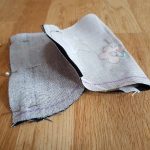
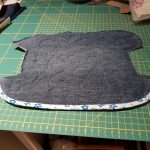
- Bring wrong sides of lining together and wrong sides of outer fabric together. Pin.
-
- Sew short sides. Sew ends of long side together leaving a gap for turning the pouch inside out.
-
- Sew short and long sides together.
-
- You should have this gap in the lining!
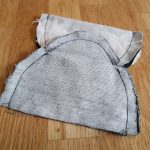
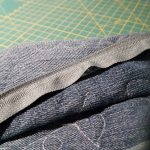
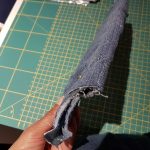
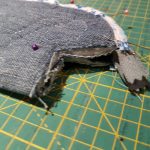
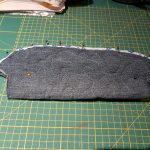
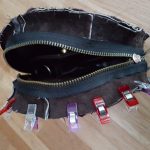
5 Boxing out the bottom.
-
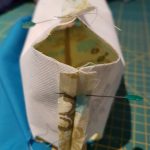
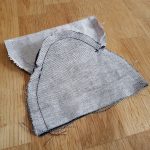
- Finger press and pin the seams flat
-
- Bring flattened corner together and pin.
-
- Ensure seam is flat and open on both sides and sew along edge.
Do this with both corners of the outer fabric.
-
- Repeat above process with the lining fabric.
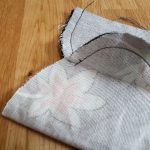
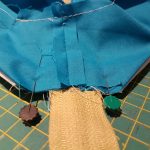
6 Boxing out the top.
This is the trickiest part but make sure you have it all aligned and flat and pinned! before you sew. The lining and outer fabric are sew together with the zip sandwiched in between.
-
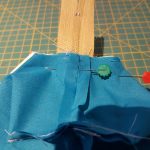
- Finger press seams open. Flatten lining and align raw ends and ensure seam is aligned with zip centre. Pin.
-
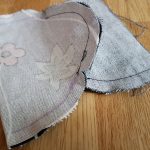
- Turn over and repeat with outer fabric. Ensure folded edge of outer and lining are aligned. Ensure seam is aligned with zip centre. Re-pin if needed.
-
- Re-pin with pins parallel to seams to prevent any slippage. Sew along raw edge with 1cm seam allowance.
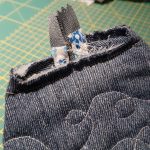
-
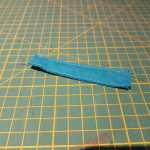
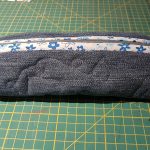
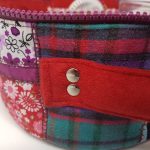
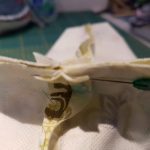
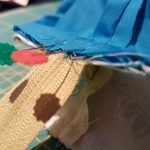
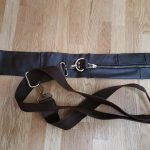
- Sew a narrow tab and top stitch edges as shown.
-
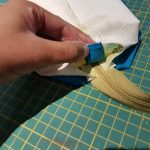
- Flatten outer fabric and insert folded tab with raw edges aligned with outer fabric raw edge. Ensure alignment with zip centre. Pin.
-
- Flatten lining and align seam with zip centre. Pin.
-
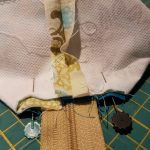
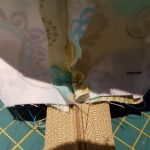
- Before sewing along the raw edge open the zip about half way. Re-pin and sew.
-
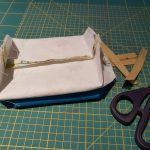
- Cut off zip ends
-
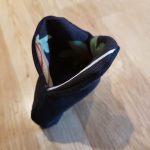
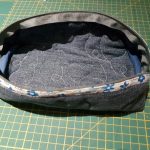
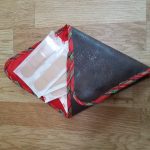
- Turn the pouch over, outer fabric face down. The opening should be visible.
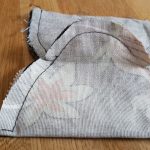
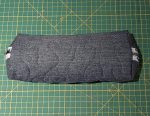
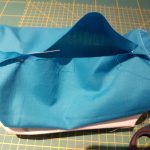
7 Turn your pouch inside out and finish off.
-
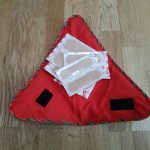
- Turn the lining inside out over the outer fabric.
-
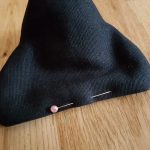
- Turn the whole pouch inside-out and pull out the lining. Pin the opening together.
-
- Sew as close as possible to the edge of the fabric.
-
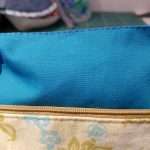
- A matching thread should be barely visible.
-
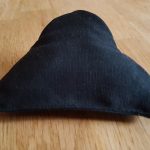
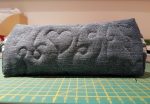
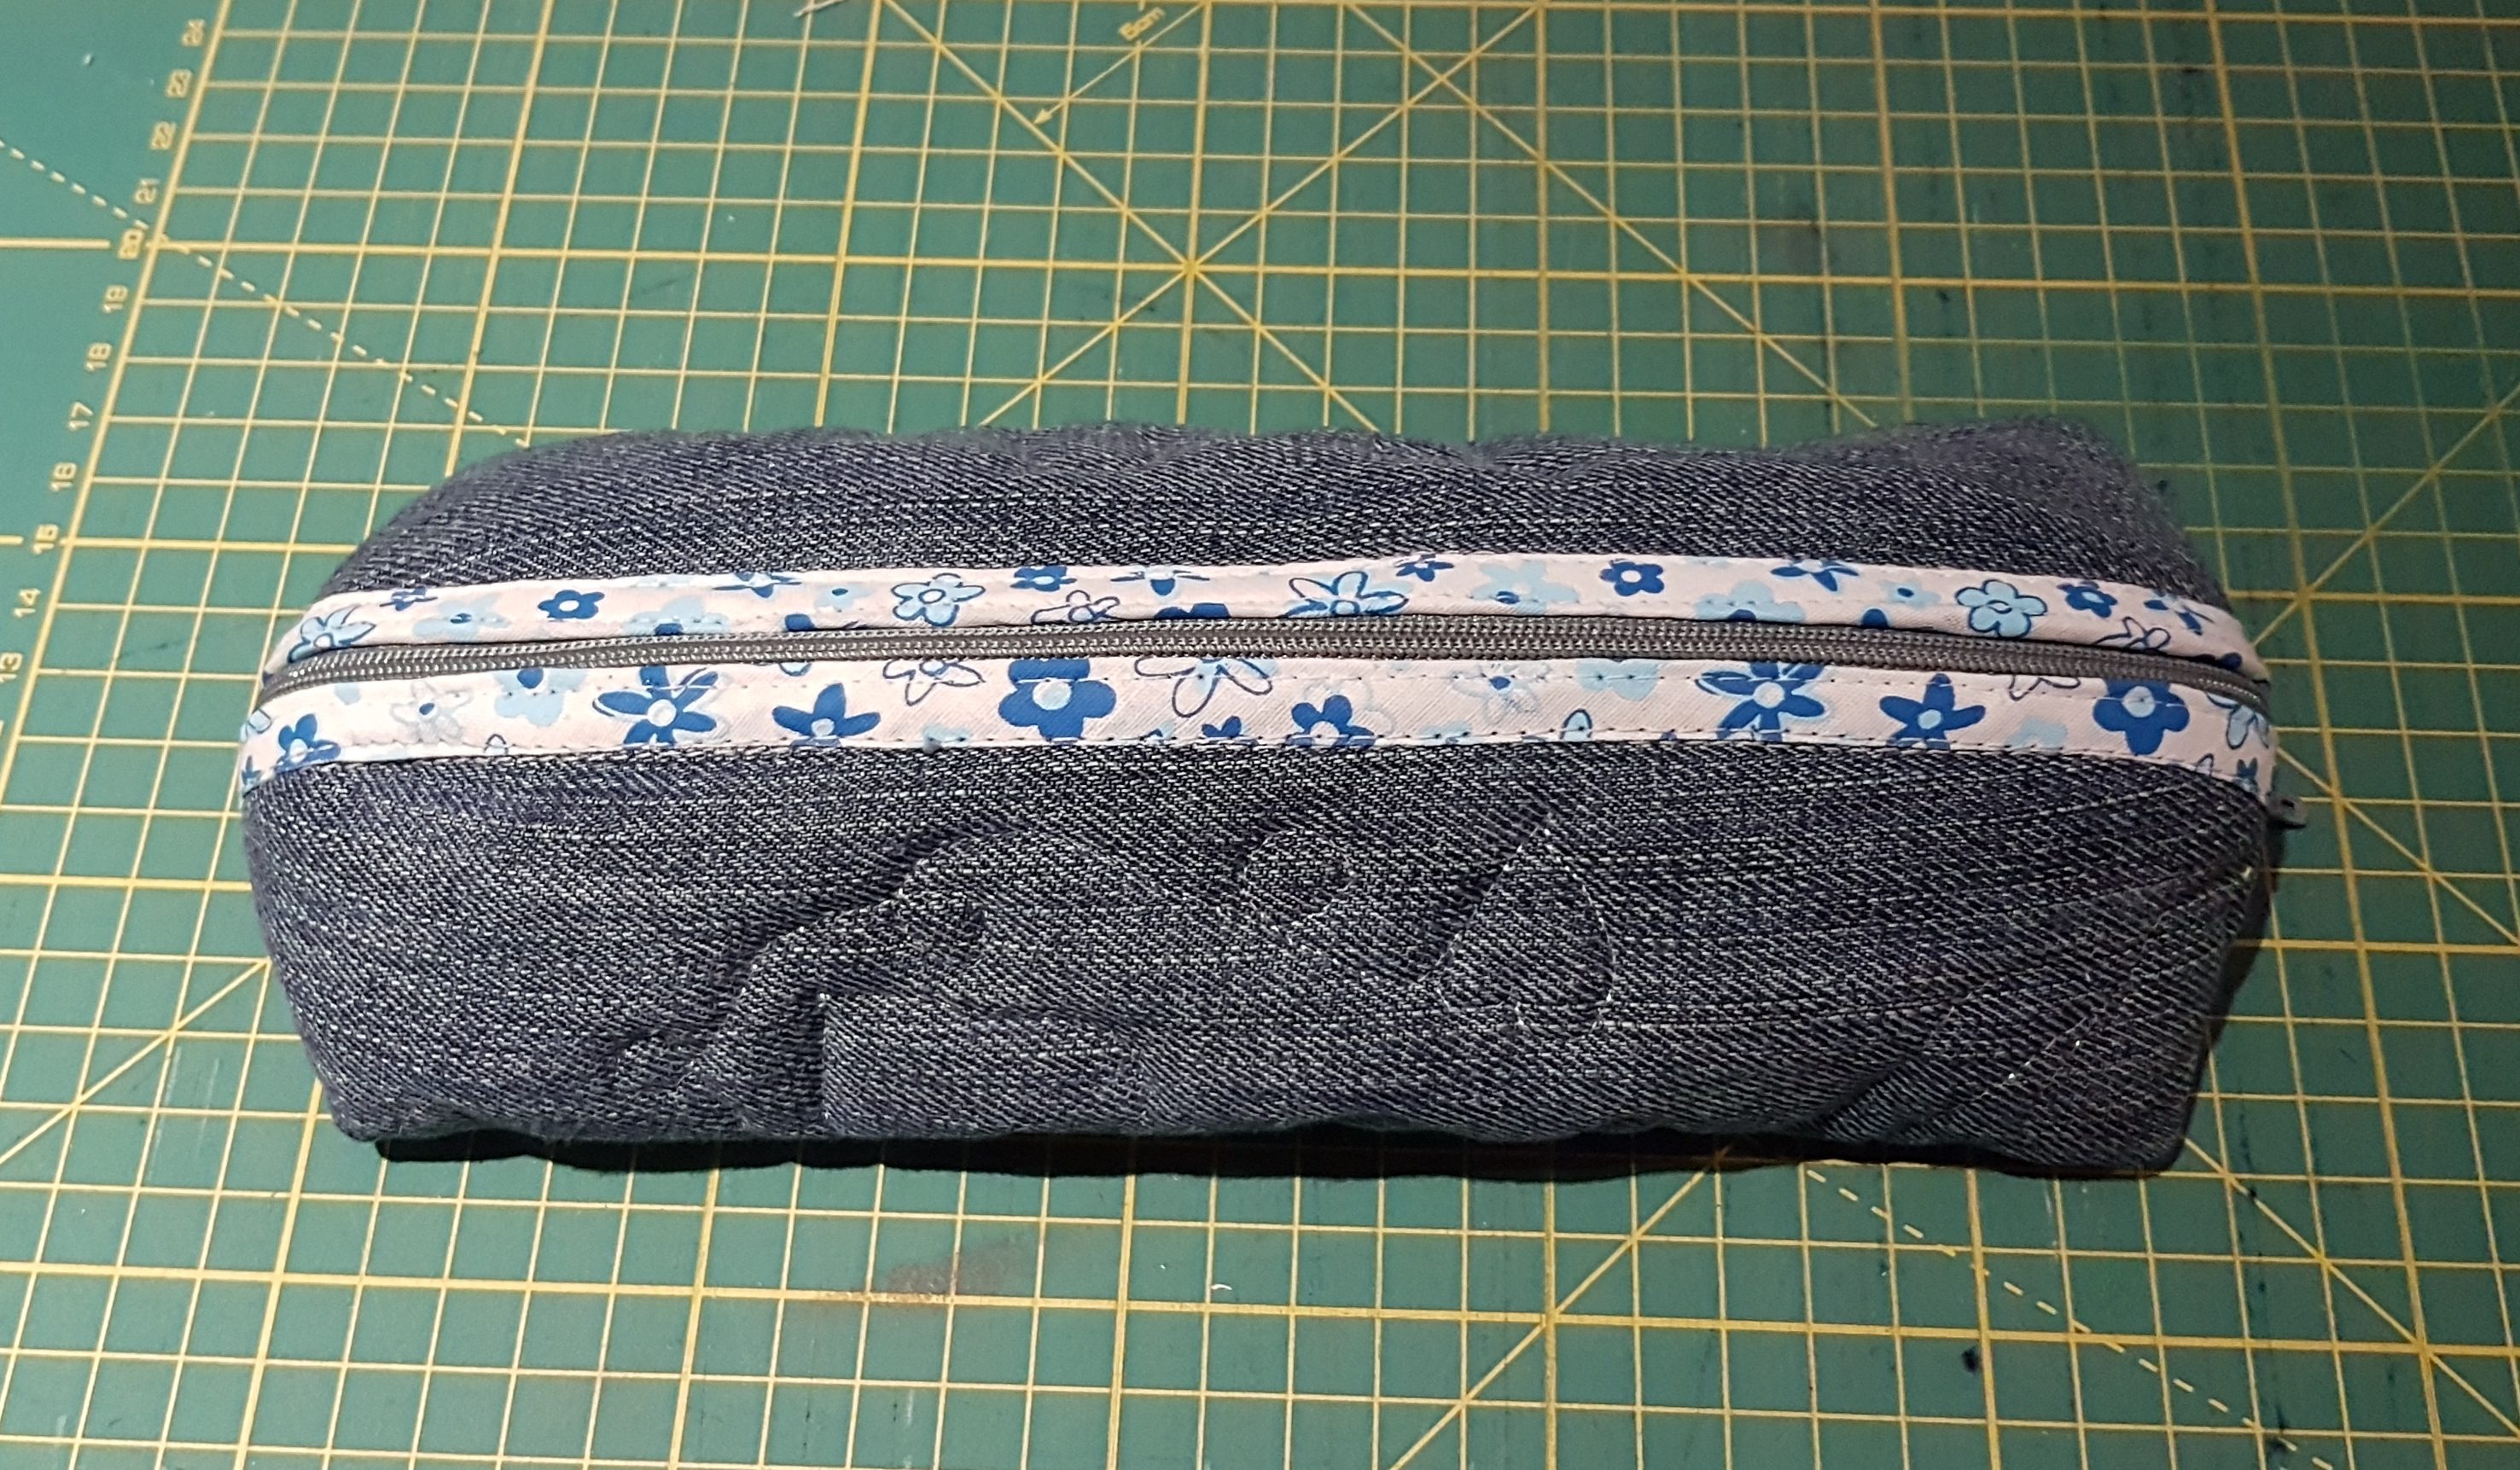
- Push the lining back inside the pouch. Push out the corners of the pouch from the inside with your finger.
-
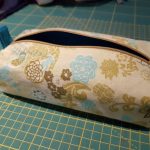
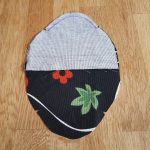
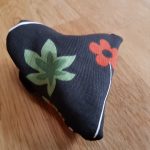
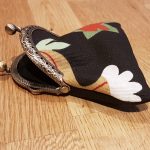
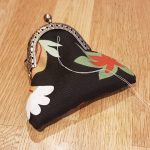
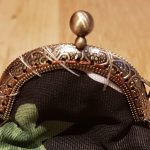
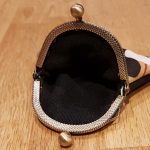
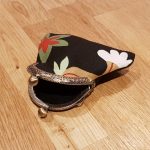
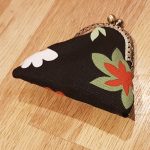
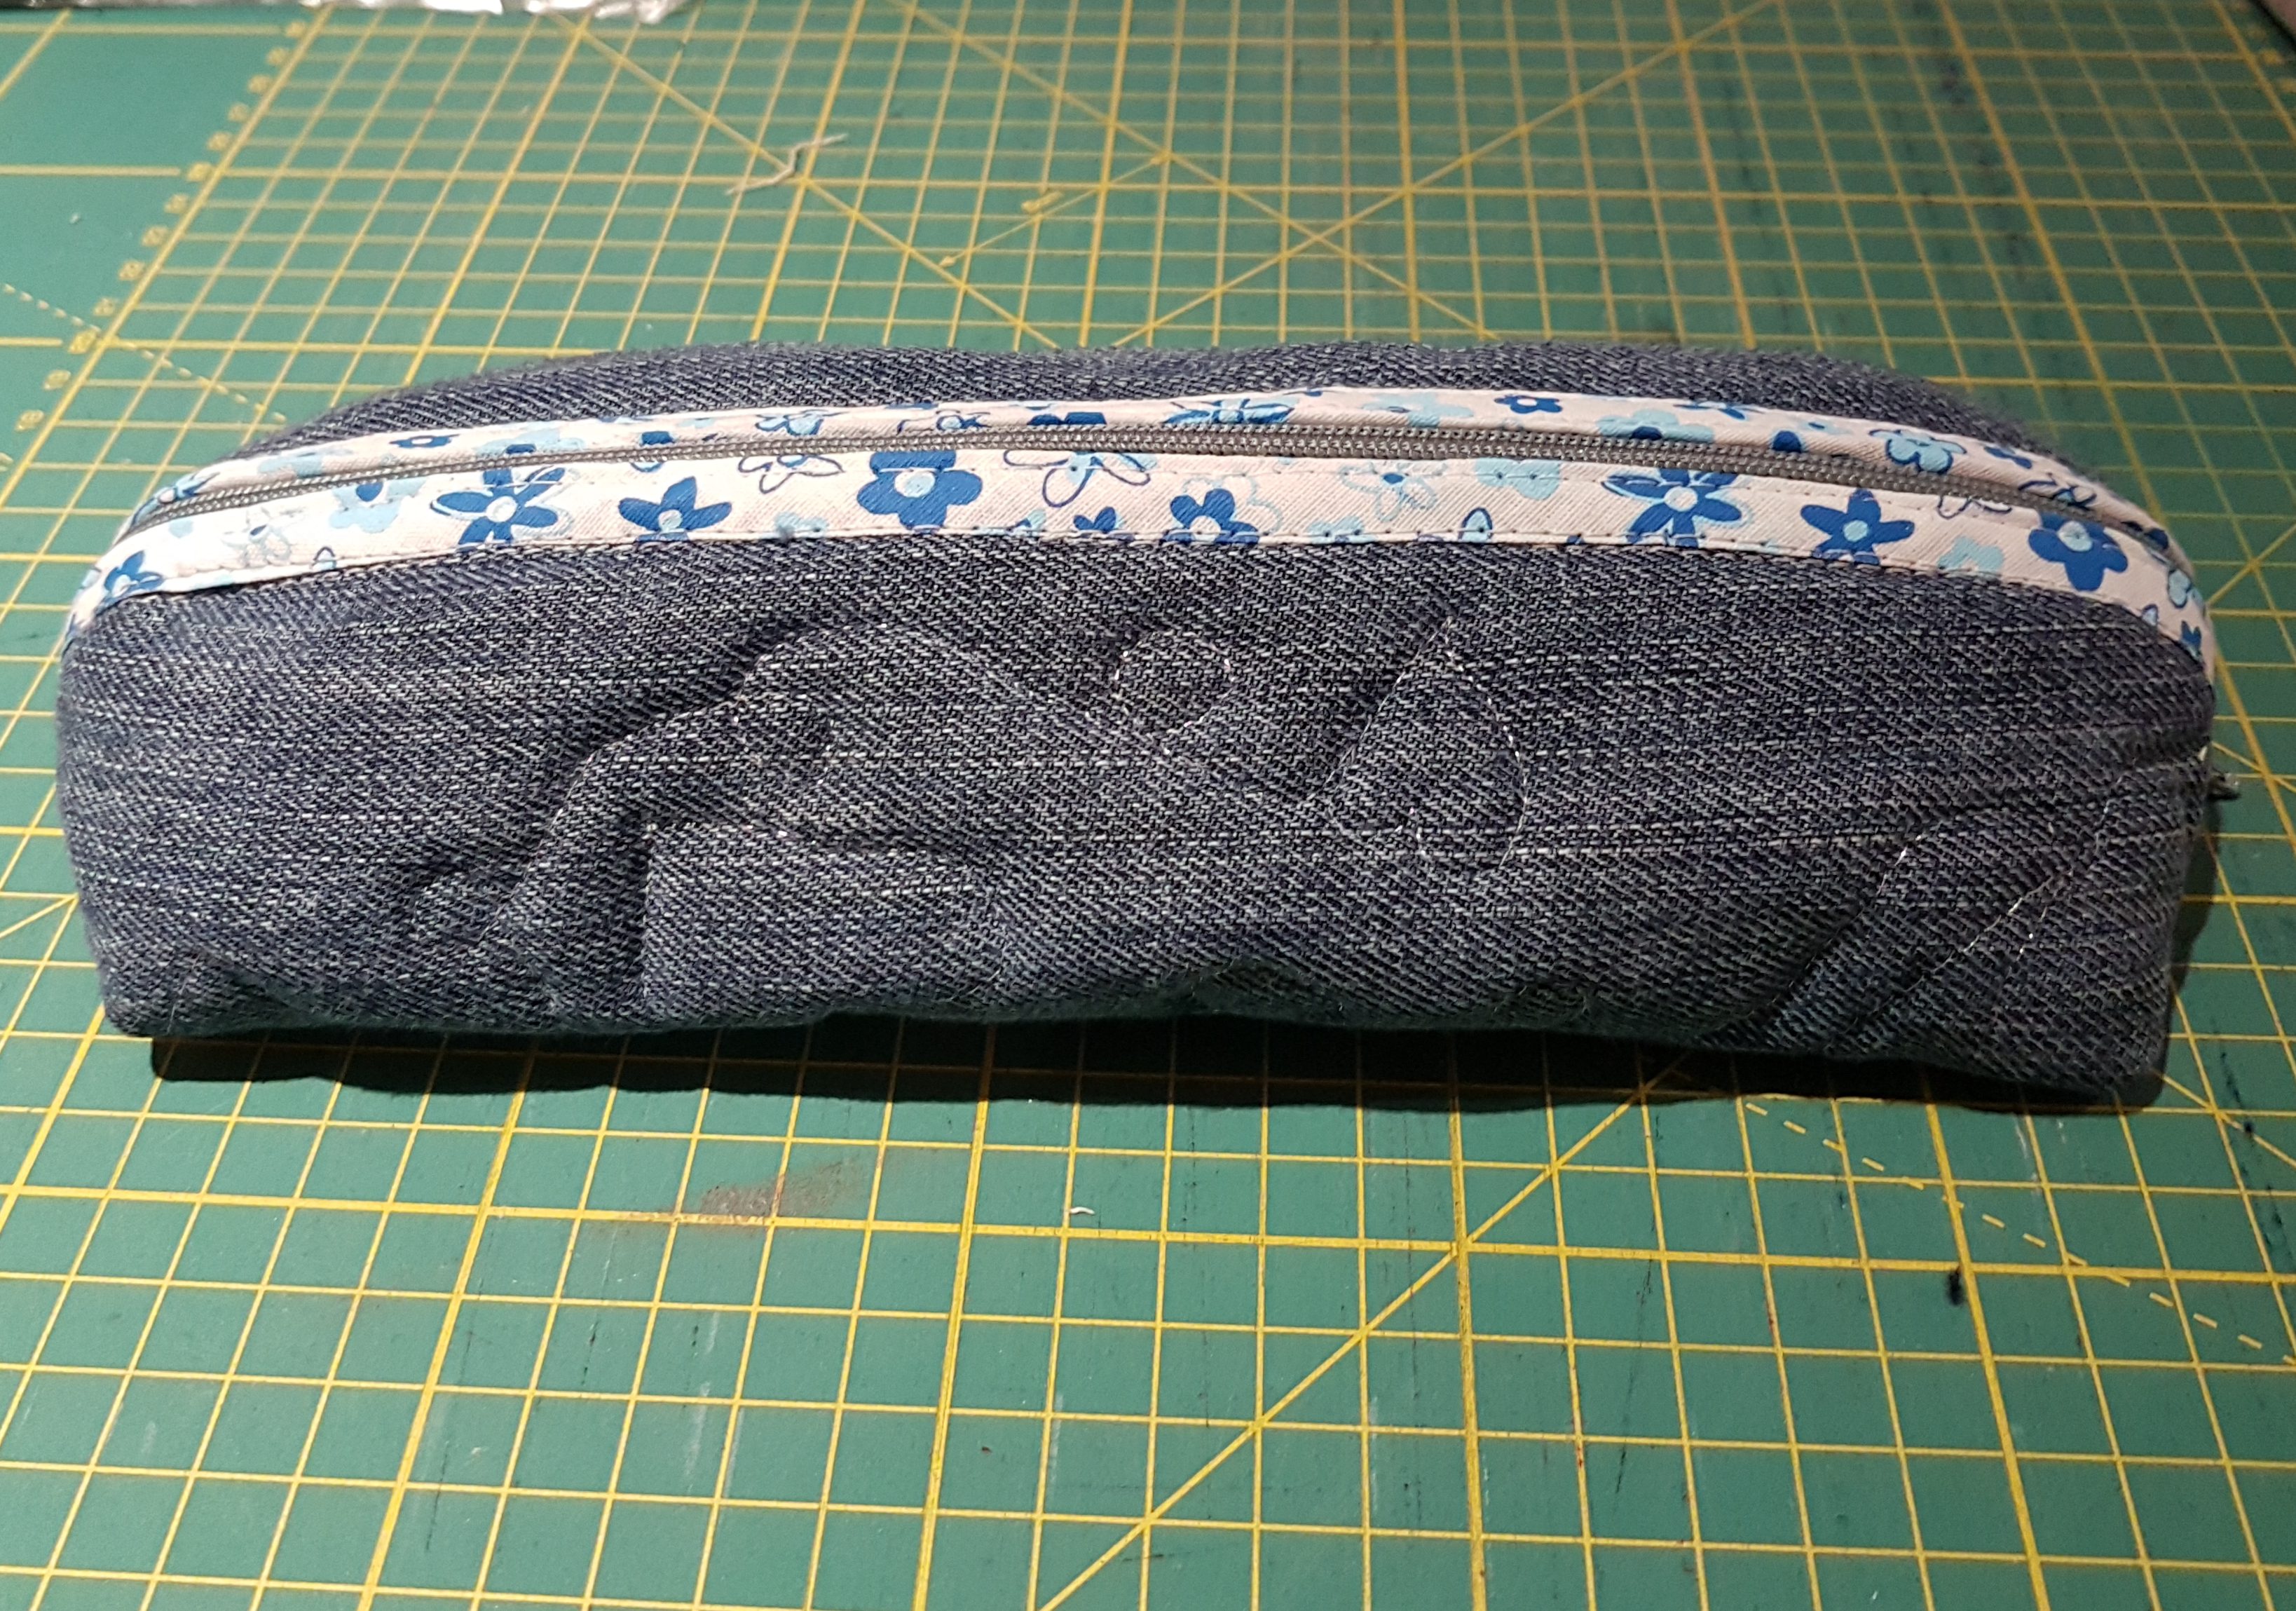
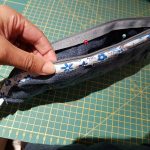
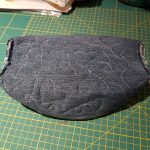
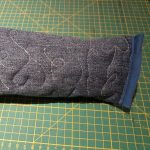
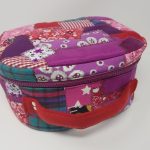
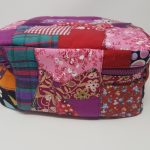
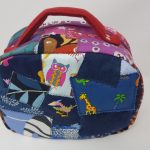
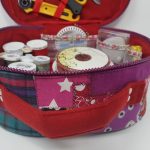
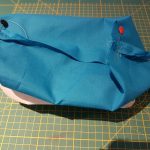
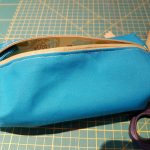
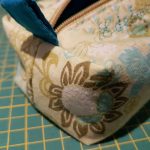
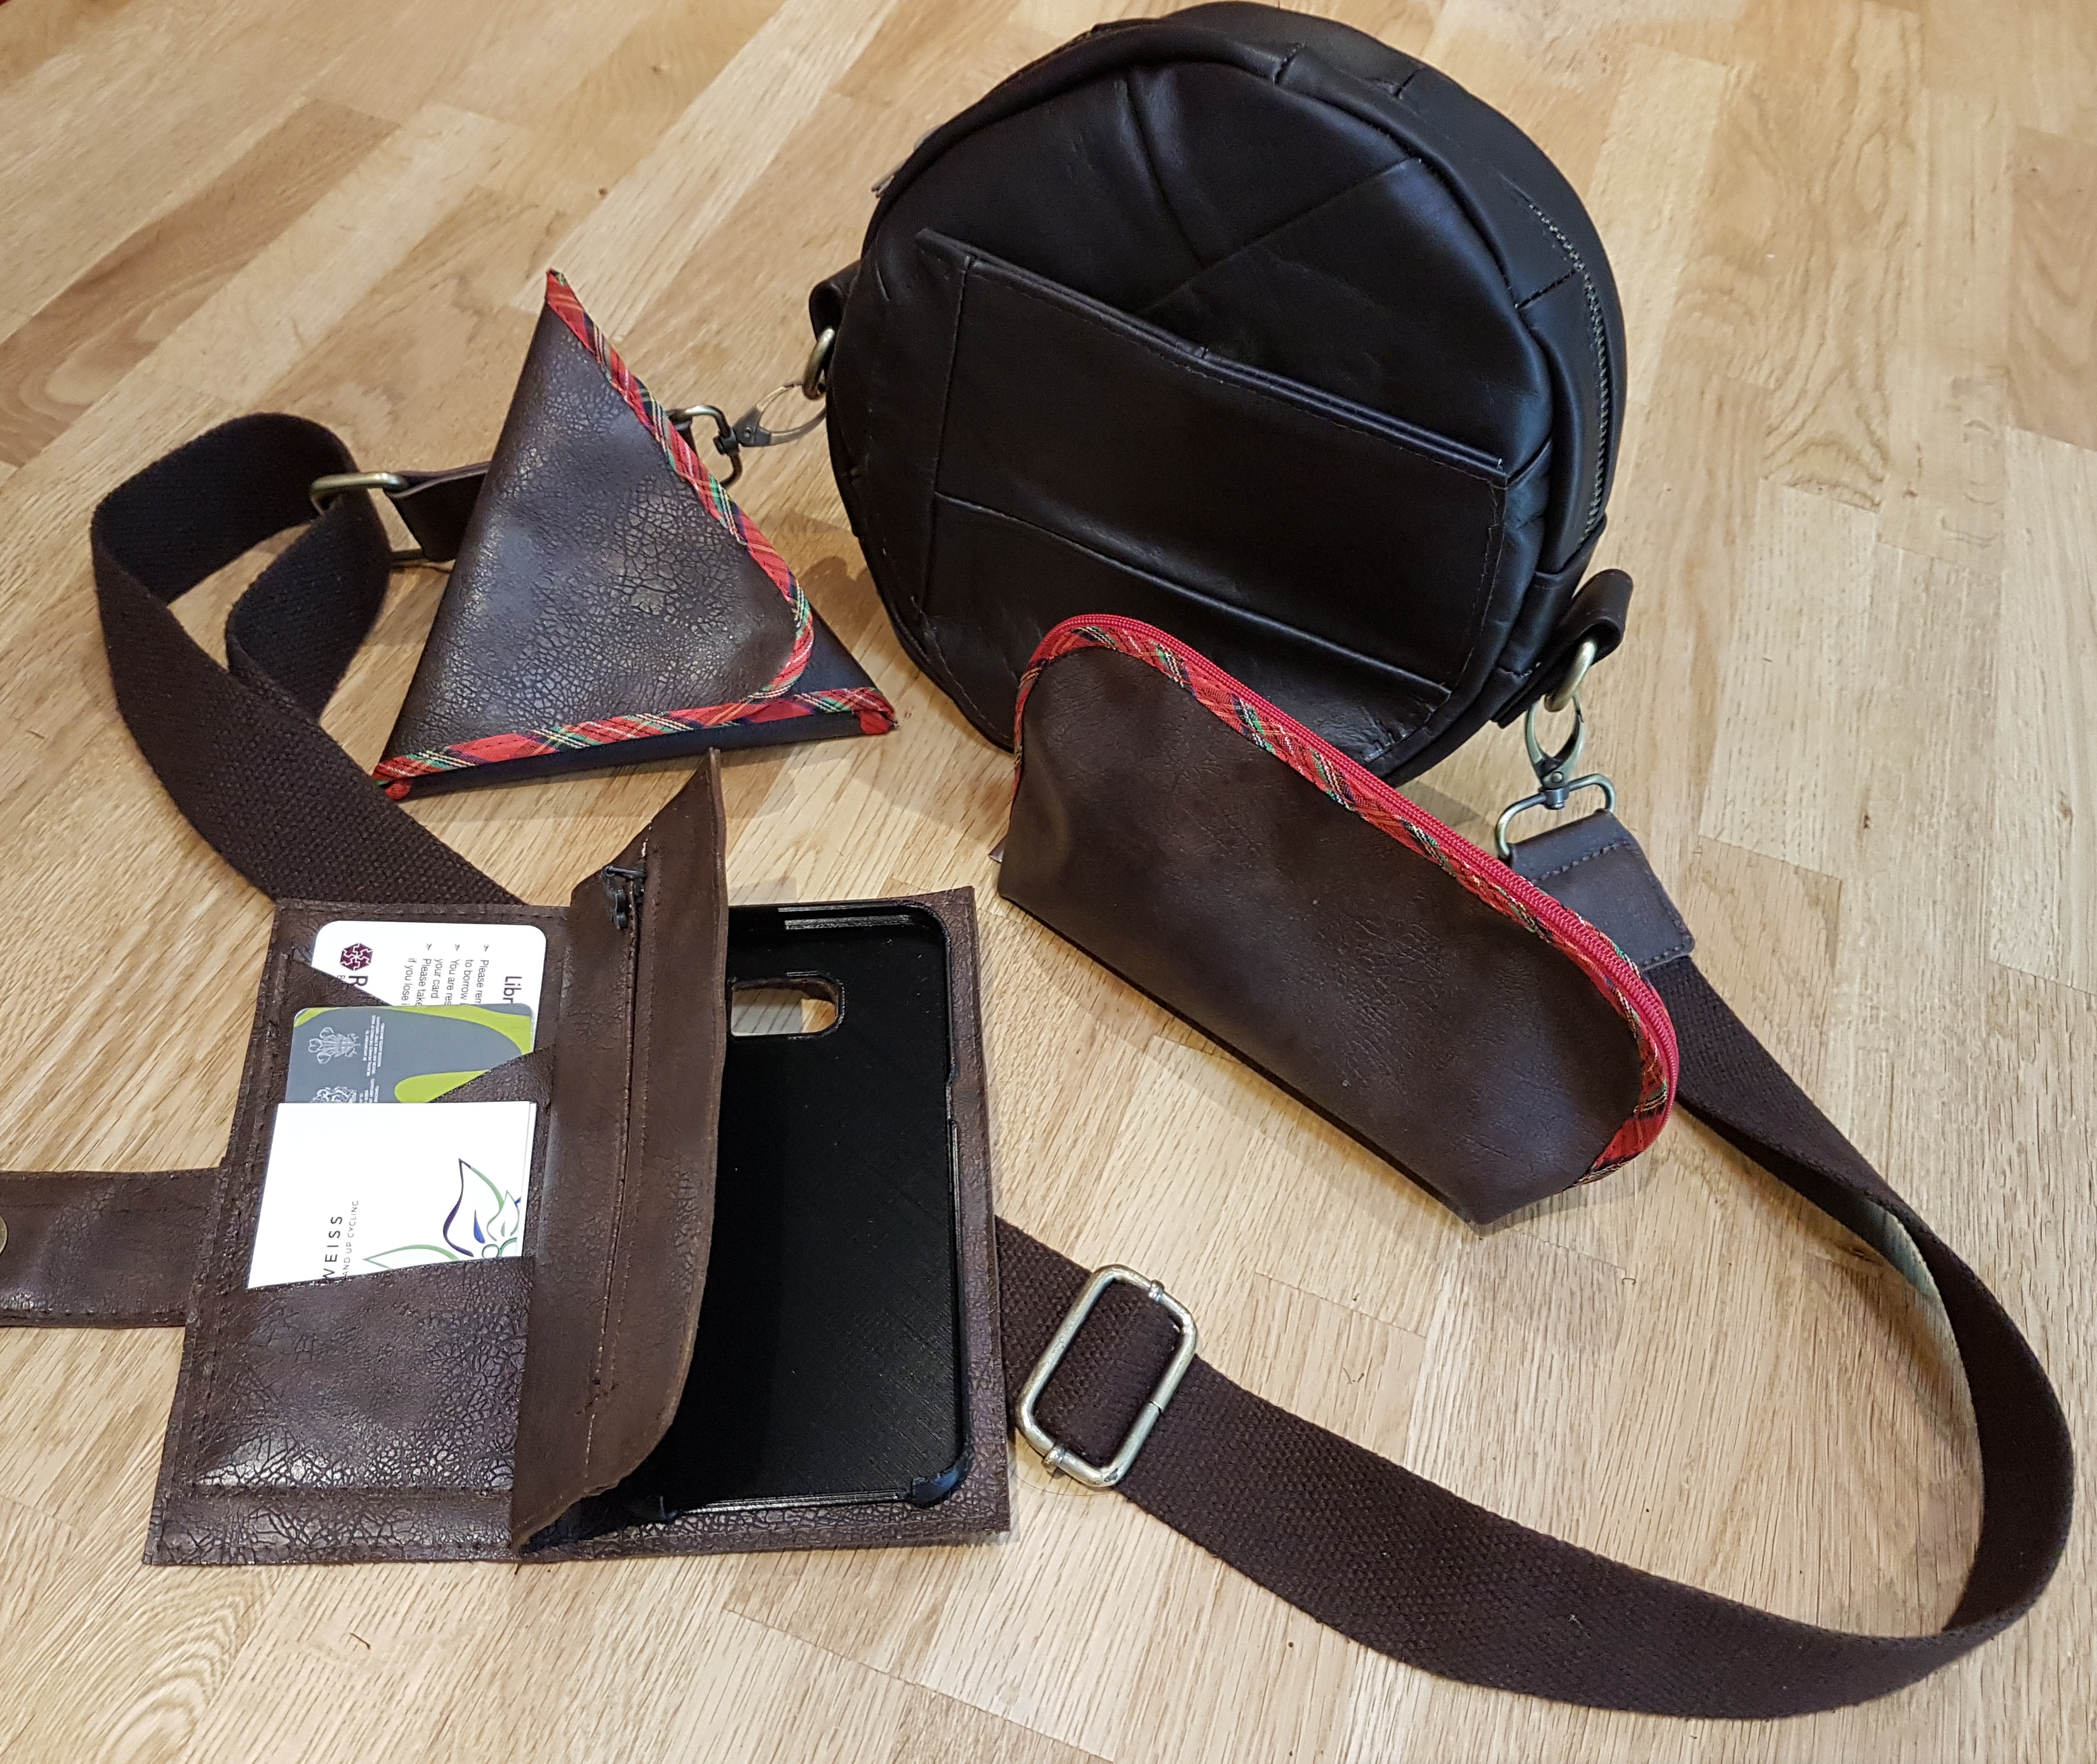
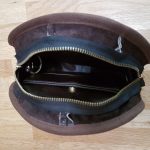
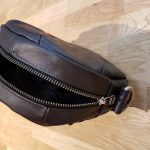
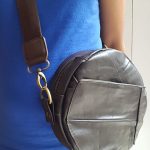
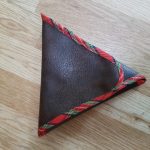
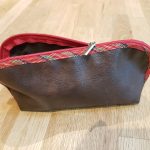
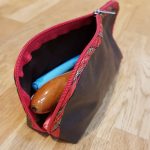
- Hopefully your pouch will look something like this.


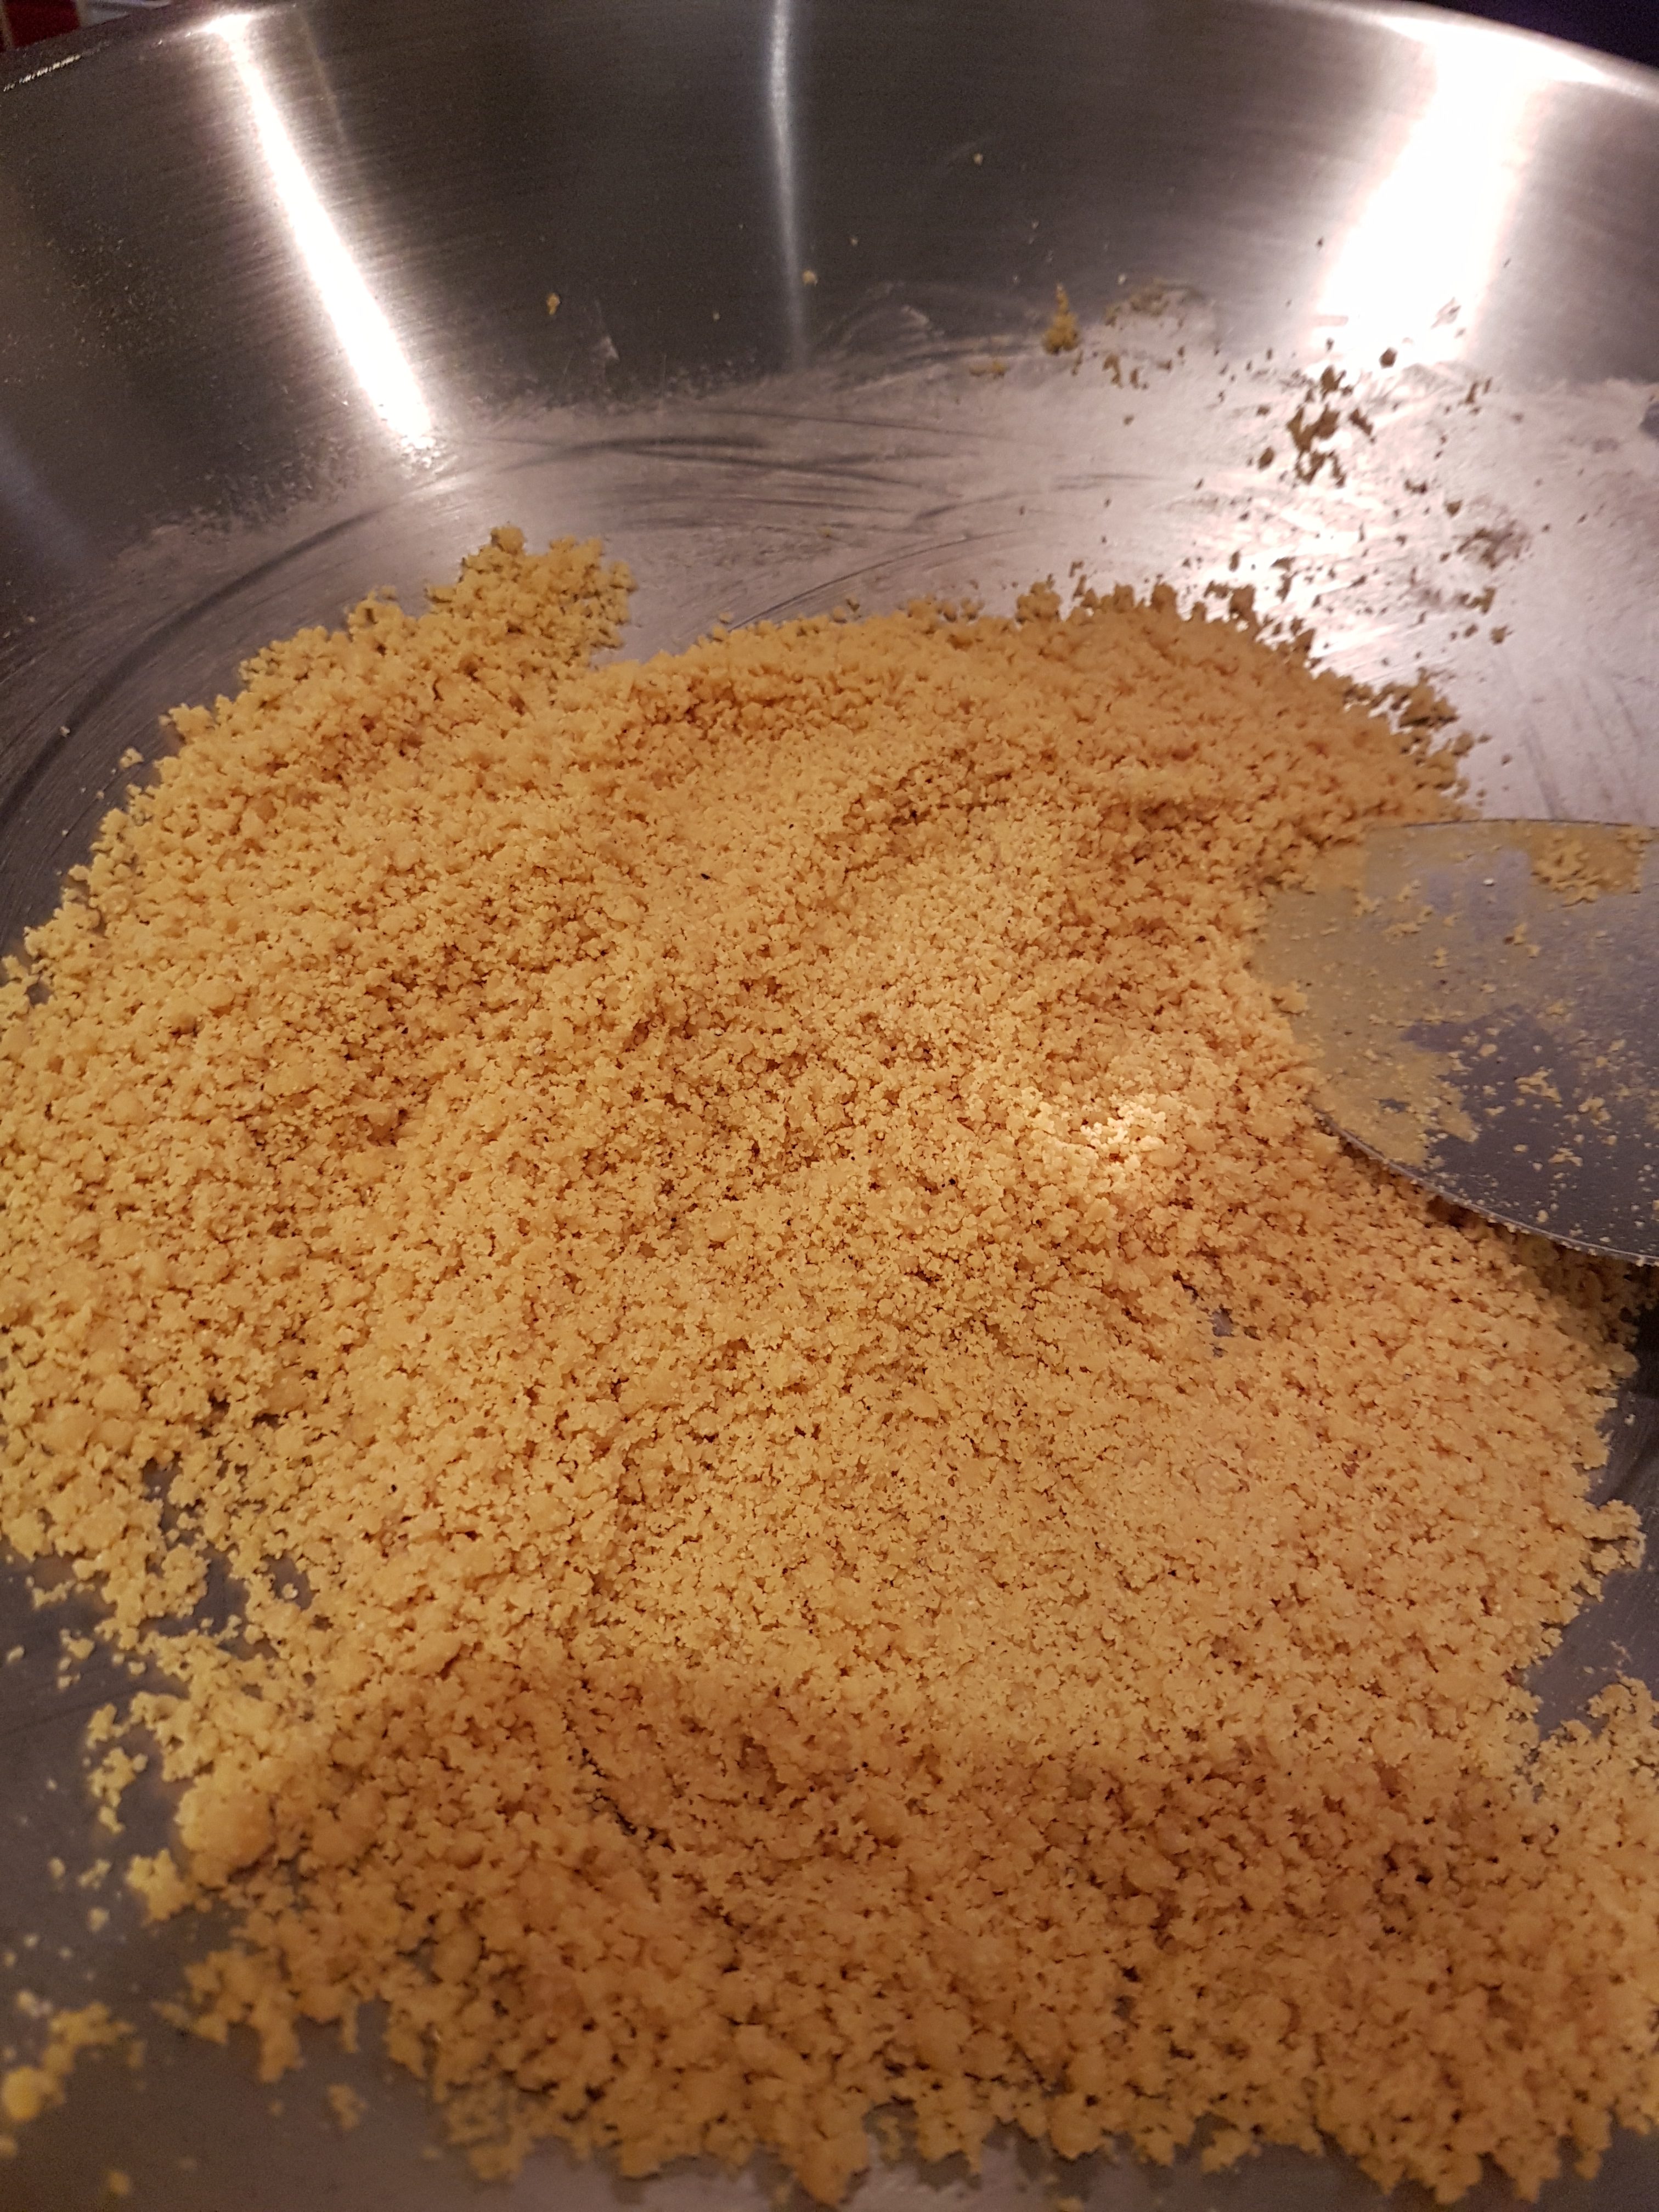
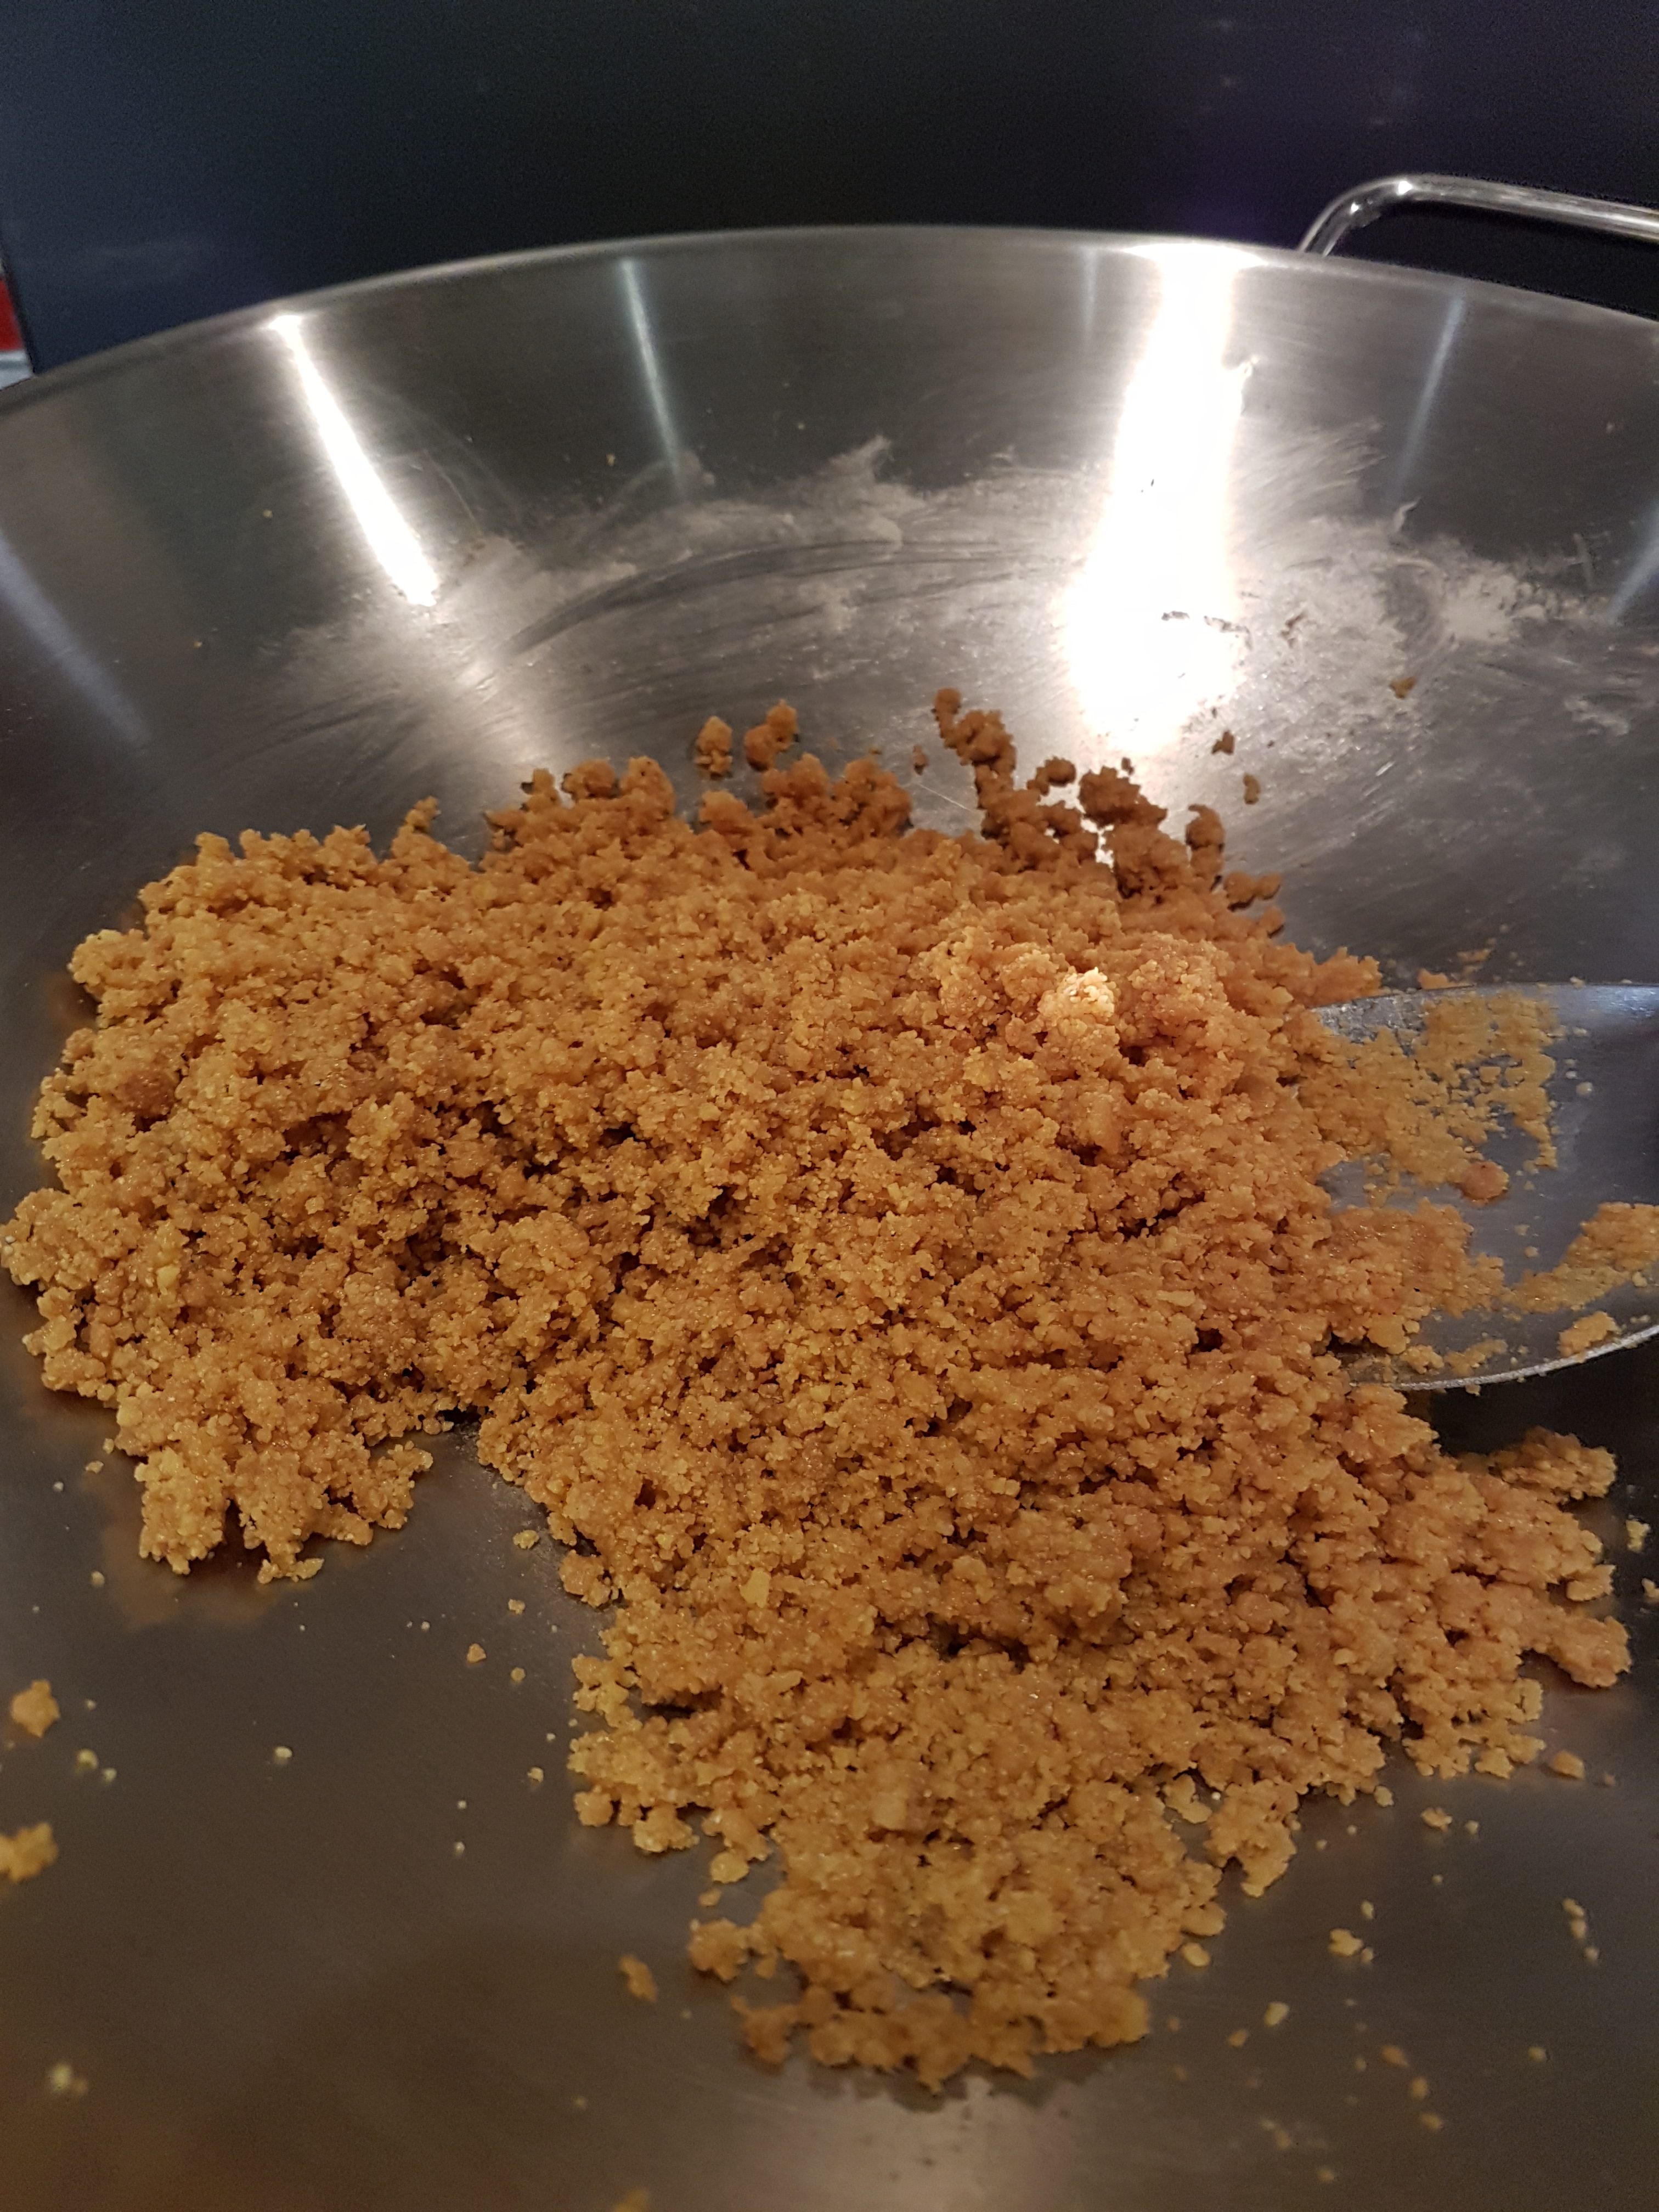
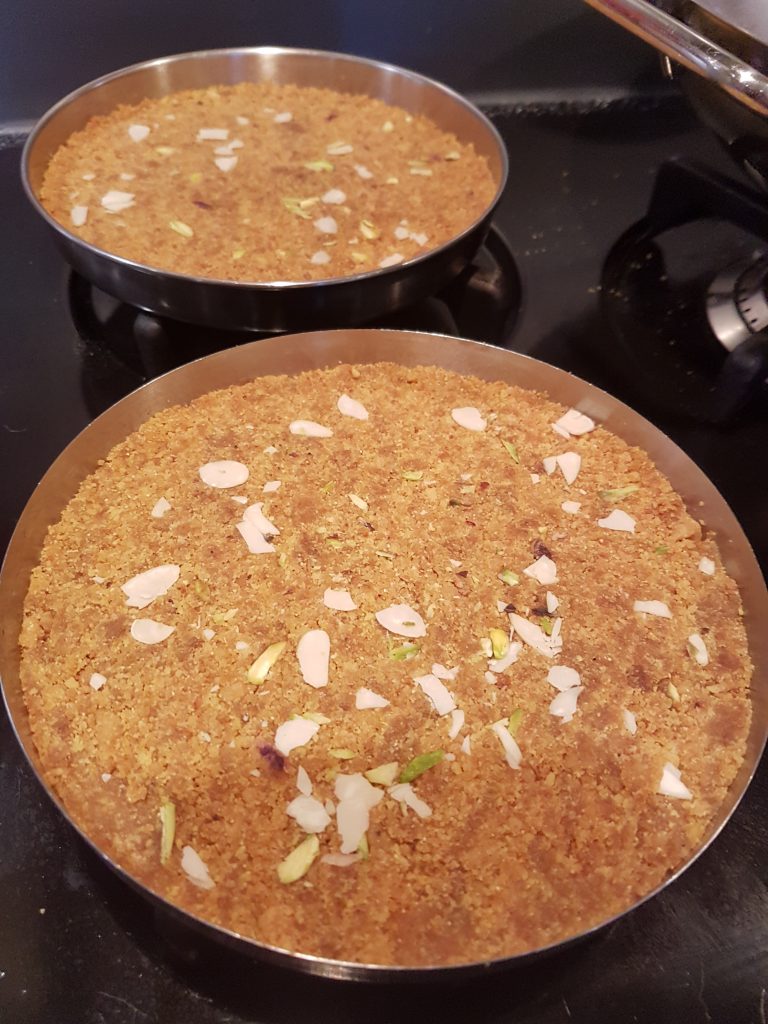 This is an all time favourite of mine. I grew up on this stuff, not being a lover of anything savoury as a child. Magaj is a sweetmeat that is cooked and left to set. Before it sets, I sprinkle it with chopped or sliced nuts and cut up into diamond shapes, just like my mum does. Its commonly made with refined sugar these days but since my mum has been telling me for years to eat healthier, unrefined cane sugar or Gor, also known as Jaggery and Panela, I set out trying to make my favourite Indian sweet using that.