Monthly Archives: January 2015

Bridal adjustments

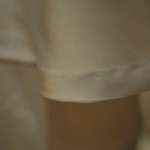
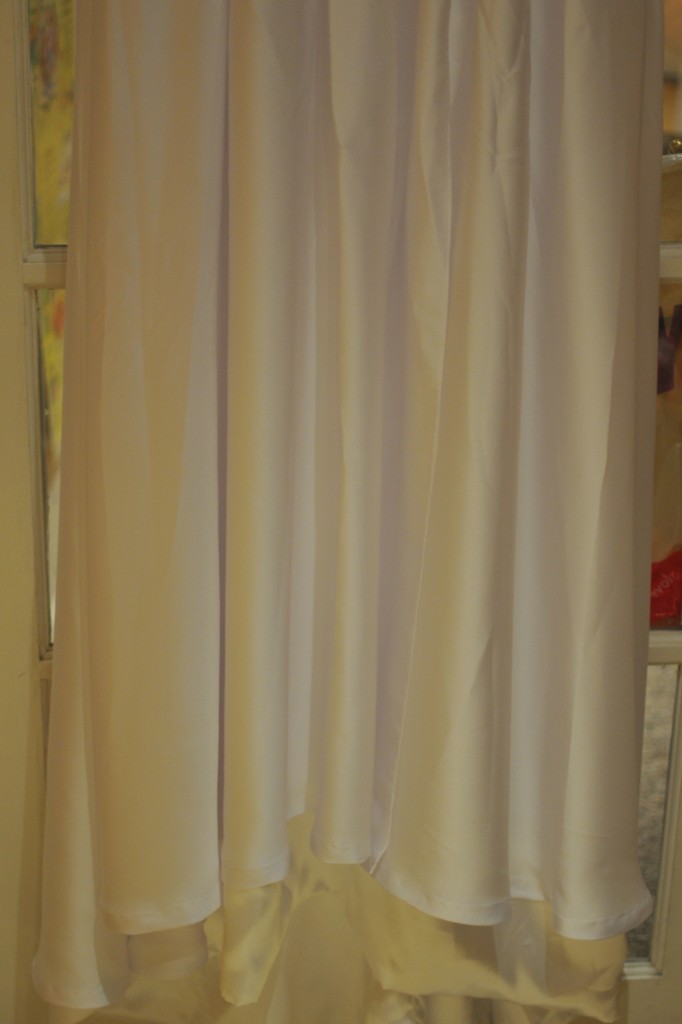
Bridal gown hemI was entrusted with a beautiful wedding gown and a few gulps later, I cut off a few centimetres from the bottom! (I hope the bride to be will not be re-visiting the shoe shop now). Ok well there was much deliberation, measuring and marking, even trepidation before I went gung ho with my scissors. I am truly honoured to be asked and relied upon.

Its still only hand hemmed at the moment and I’m planning to machine stitch a blind hem after some careful testing and a fitting with the Bride to be. My Bernina blind hem foot does it pretty well so I am happily confident.


Stage 1- hemming the outside layer of silk as seen here. You can see the lining layer hanging out underneath. Thats Stage 2.


Wedding dress

Wedding dress

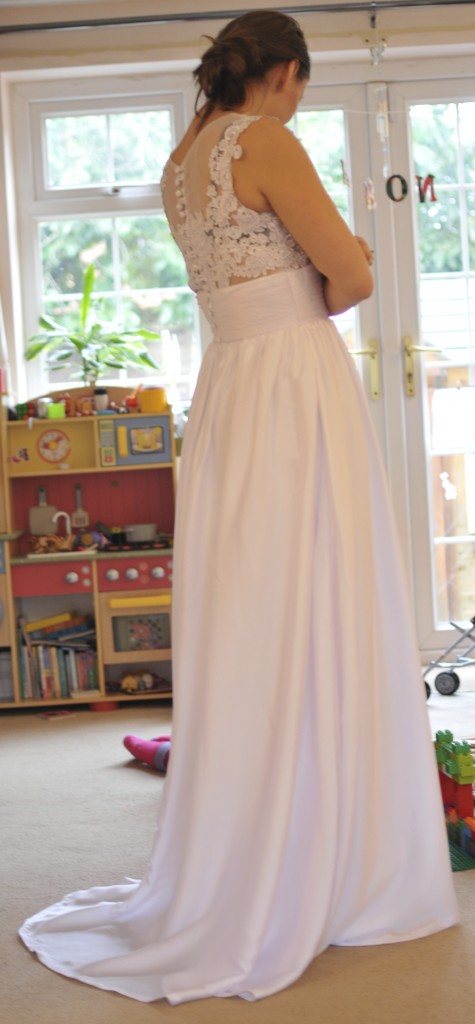
Stage 2 Took in the waist, adjusted back buttons and shortened the two lining layers of silk. Blind hemmed the outside layer of the skirt. Ready for a try on!


Stage 3 Bridal bag to match (for tissues and marriage vows) made from the actual dress off-cuts.
Ladybird party

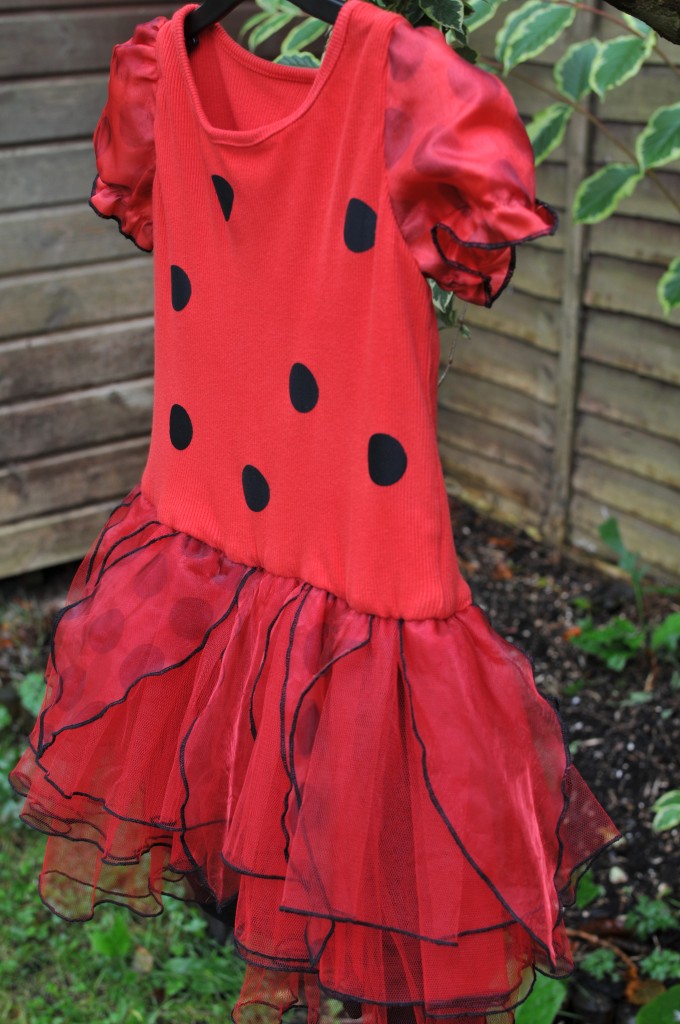
Ladybird dressThe party was full of little ladybirds and one dressed up to the boot. The dress was refashion from an old t-shirt embellished with spots and puffy sleeves from a used baby ladybird dress.

The skirt is refashioned from a Halloween costume into a multi layer twill (tutu style) skirt and some triangular piece added on top, again from the baby dress. I added a soft knitted cotton lining underneath to keep soft skin, soft.

There was a matching cake and party bags too. Party bags are made from felt embellished with spots and ribbon handles.


Ballet bag

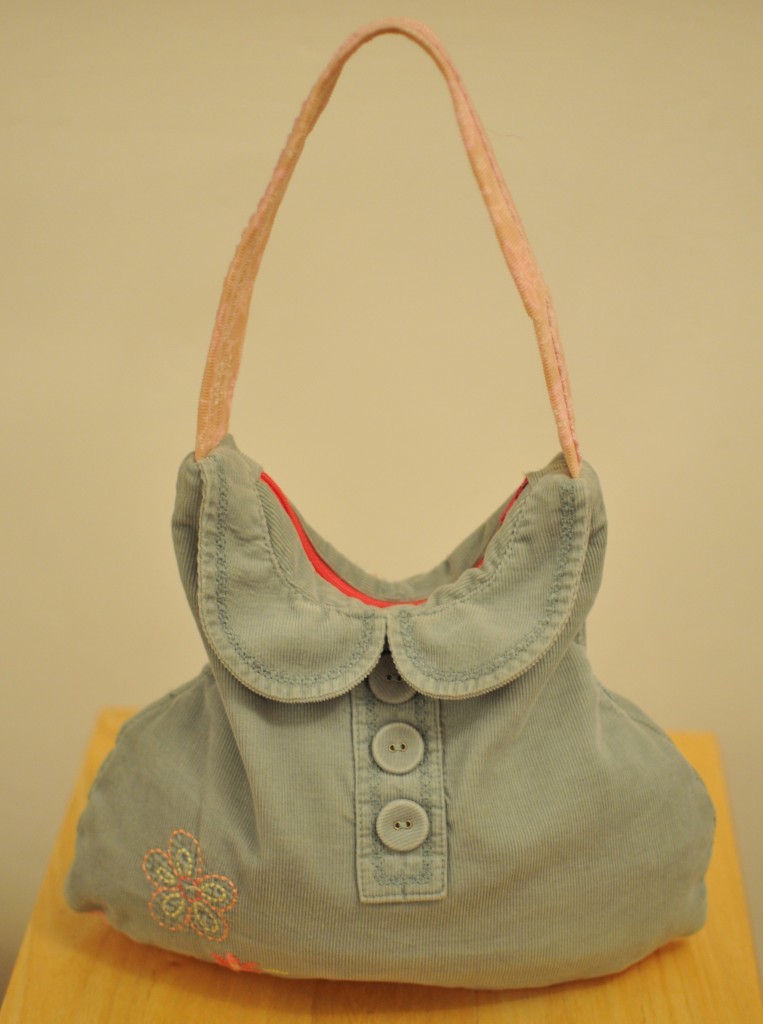
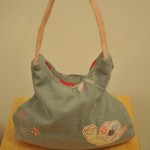
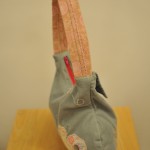
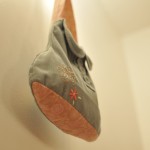
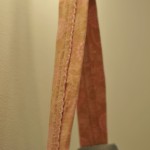
Ballet bagMy little one needed a bag for her ballet kit so this is what happened to two of her ‘outgrown of’ dresses. I used the existing embroidery and colour matched it with a pink zip. A neat little handle and she was ready for class. It took longer than I thought to put it together. Working around existing dresses with all their lining, interfacing and multiple layers was challenging. It took a while to cut away unnecessary bulk and get the right shape. Attaching the bottom of the bag also required some effort as the narrow curves made it difficult to the bottom symmetrical. I’ll need to research how they do that on bags and I am planning to do more. I could do with a little bag like that myself.

I do like the end result. Its almost as if the shape of the dress is perfect for a little purse.

Rangoli


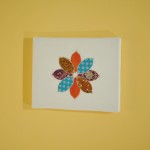
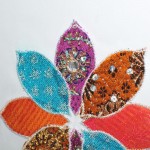
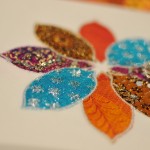
Applique art

Applique art

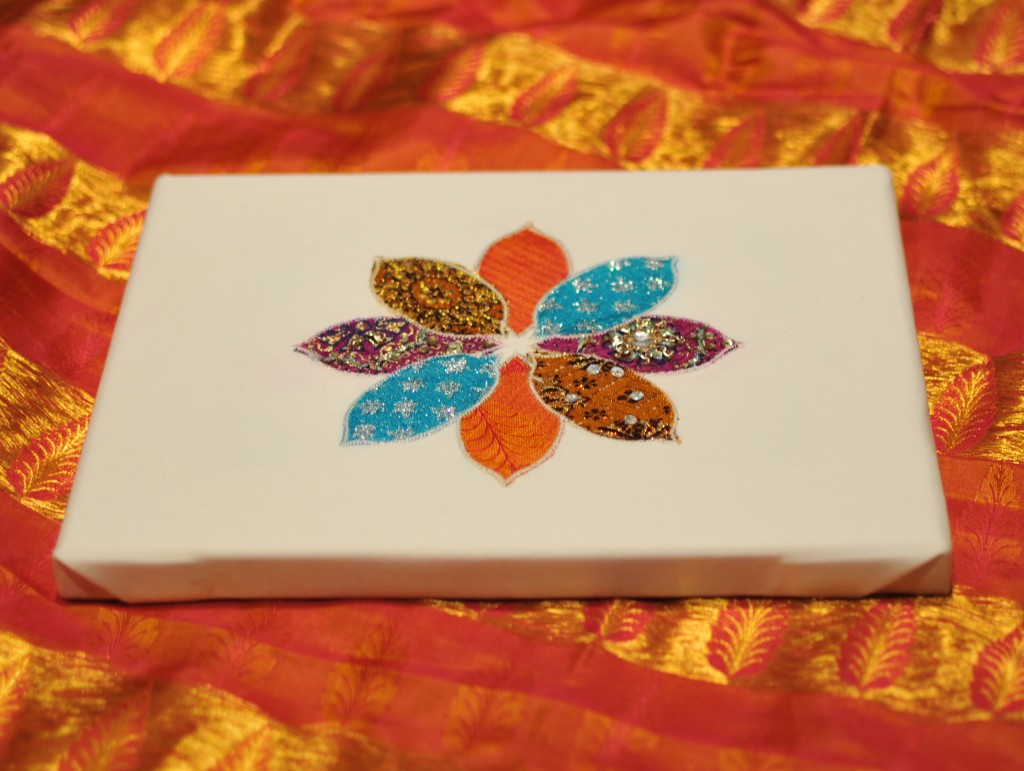
Rangoli patterns are painted or created at Divali and other special occasions as a symbol of good luck. Traditionally they were done on the ground in India but these beautiful geometric patterns can be created anywhere!

There are bold and colourful and perfect for brightening up the winter days. I wanted to make some Divali decorations and here’s what I came up with using beautiful silks to create a Rangoli appliqué. It took me some time to choose which colours worked well together and since the fabrics were so detailed themselves I decided not to add the embroidery that I had designed already.