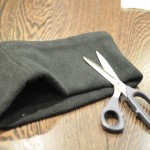
 I was entrusted with a beautiful wedding gown and a few gulps later, I cut off a few centimetres from the bottom! (I hope the bride to be will not be re-visiting the shoe shop now). Ok well there was much deliberation, measuring and marking, even trepidation before I went gung ho with my scissors. I am truly honoured to be asked and relied upon.
Its still only hand hemmed at the moment and I’m planning to machine stitch a blind hem after some careful testing and a fitting with the Bride to be. My Bernina blind hem foot does it pretty well so I am happily confident.
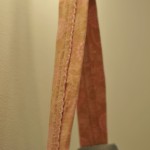
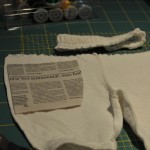
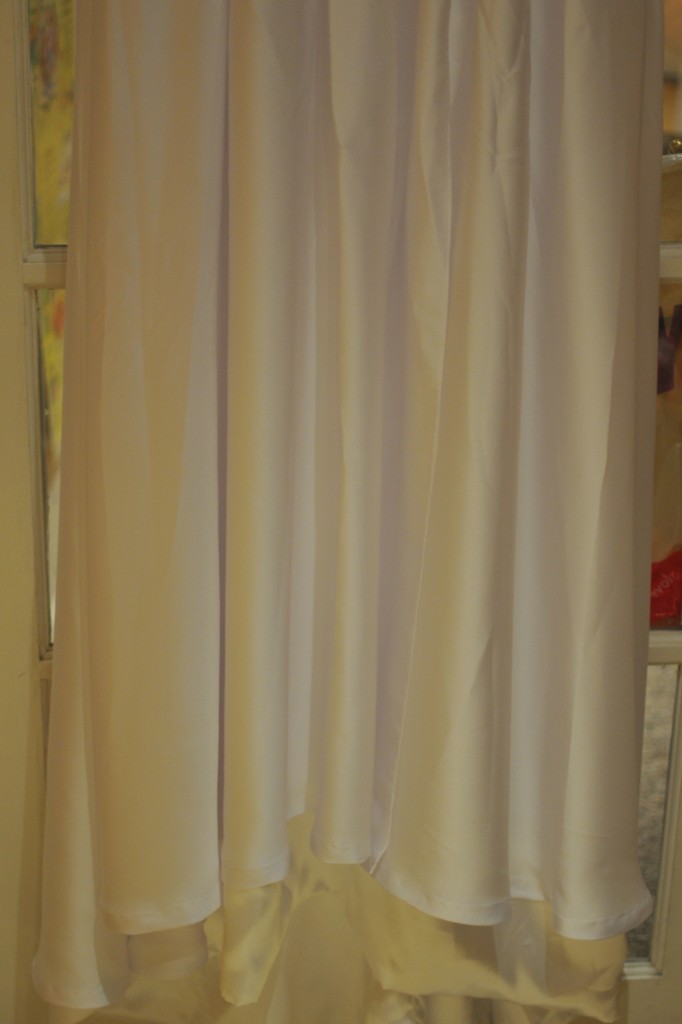
Stage 1- hemming the outside layer of silk as seen here. You can see the lining layer hanging out underneath. Thats Stage 2.
-

- Front hem
-

- Front hem
-

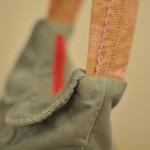
- Back hem
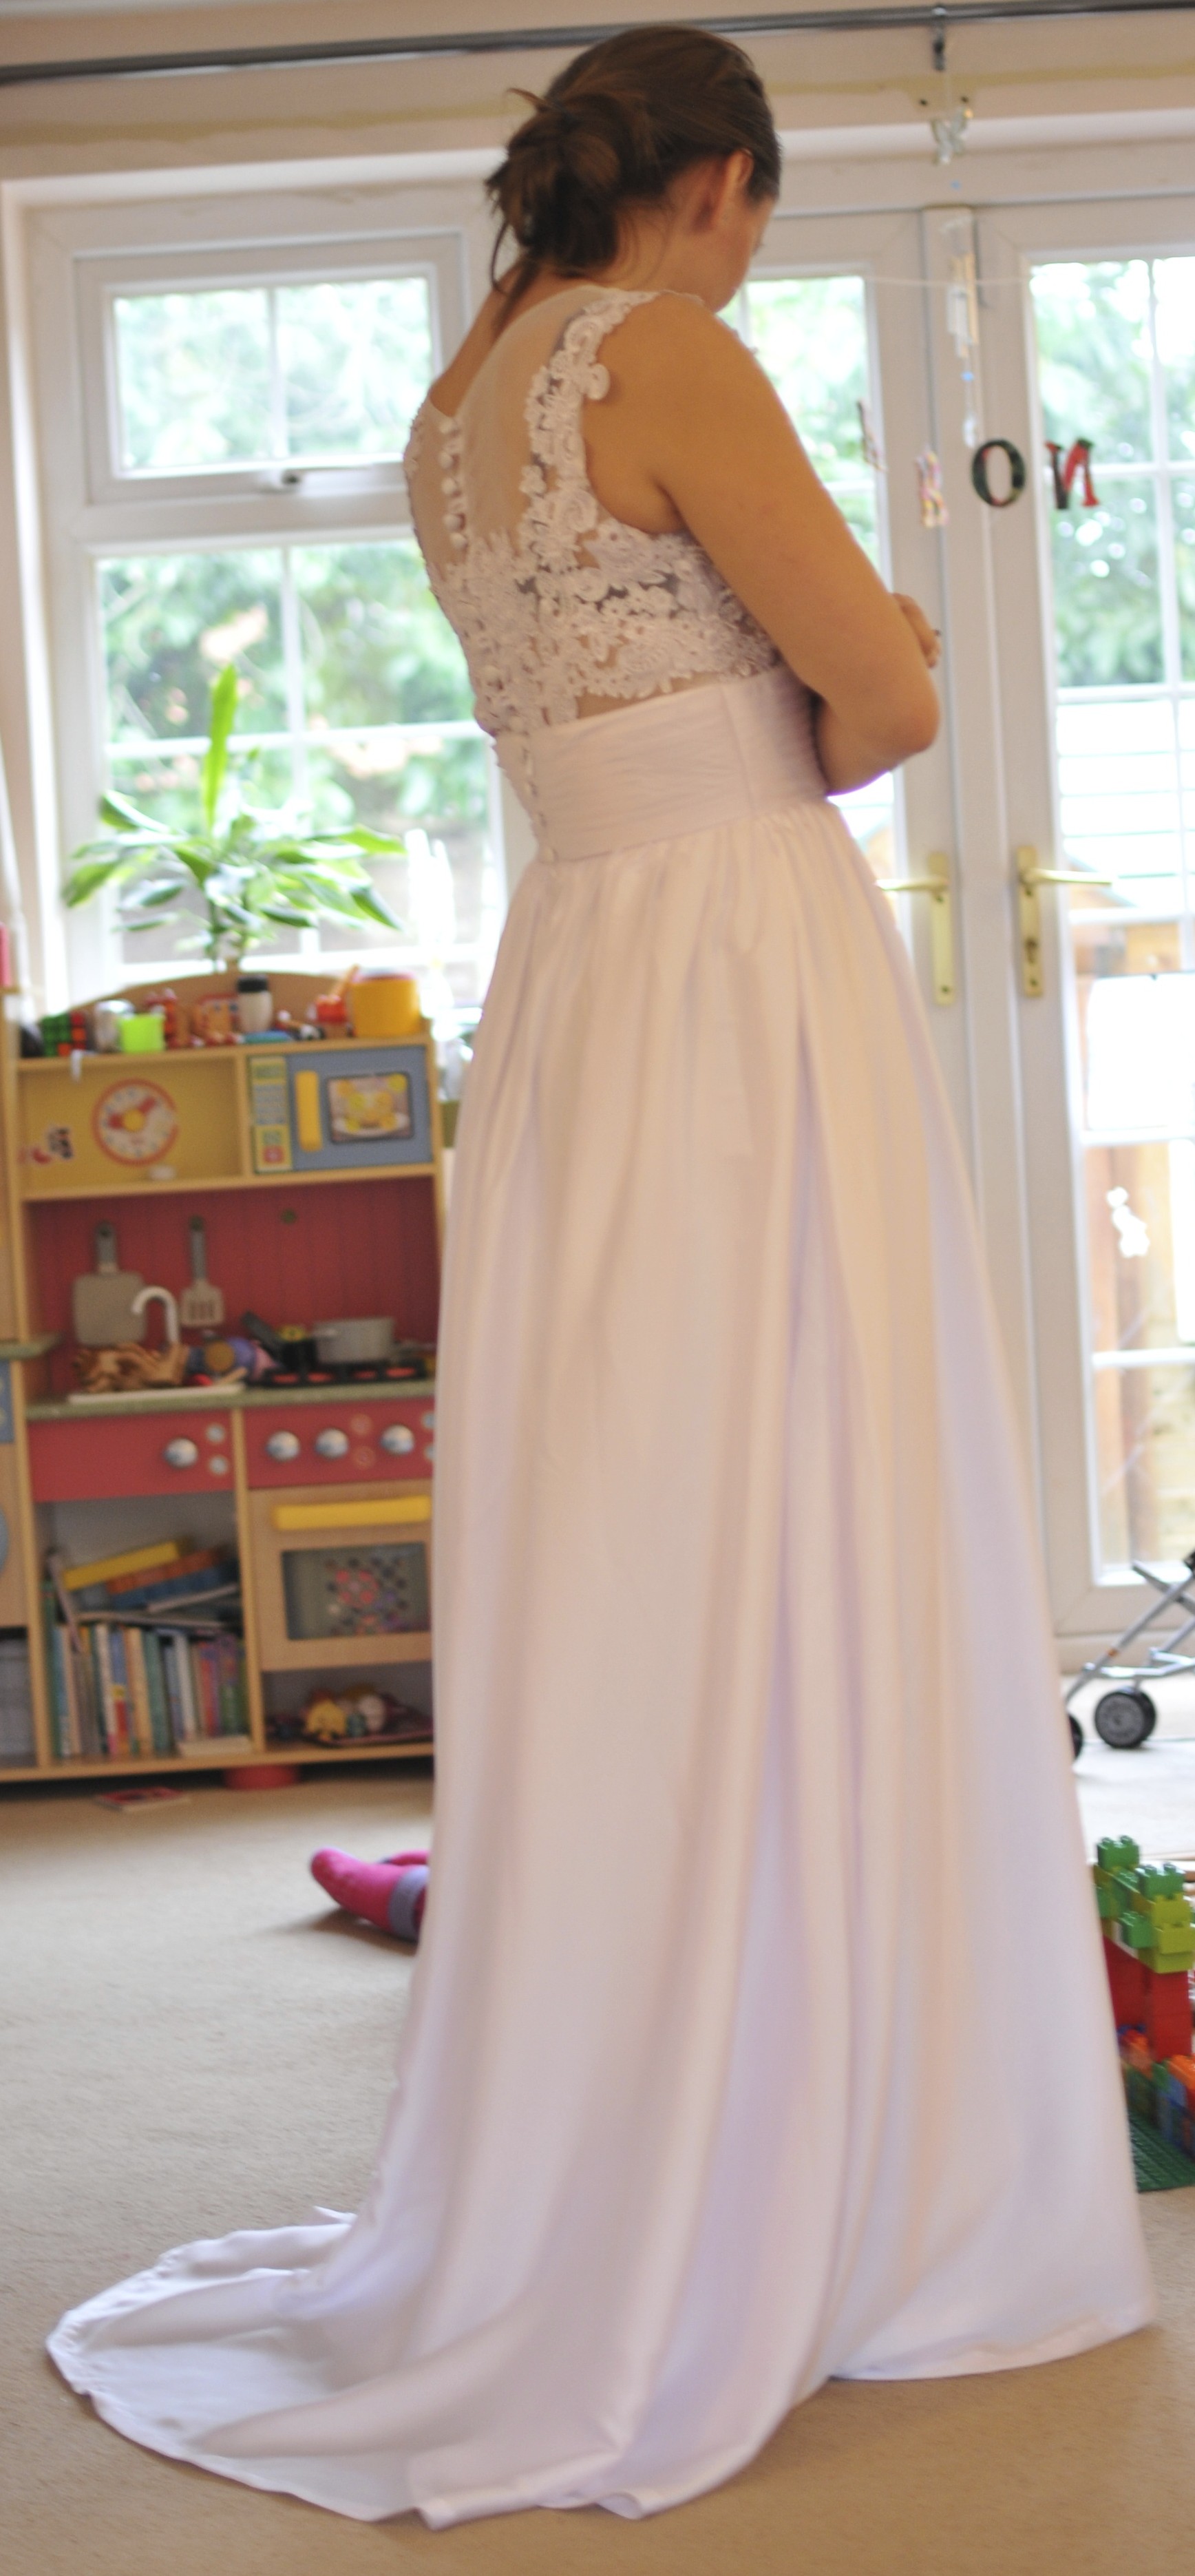
Wedding dress
Stage 2 Took in the waist, adjusted back buttons and shortened the two lining layers of silk. Blind hemmed the outside layer of the skirt. Ready for a try on!
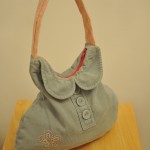
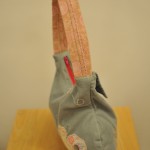
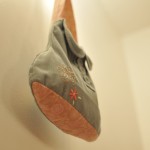
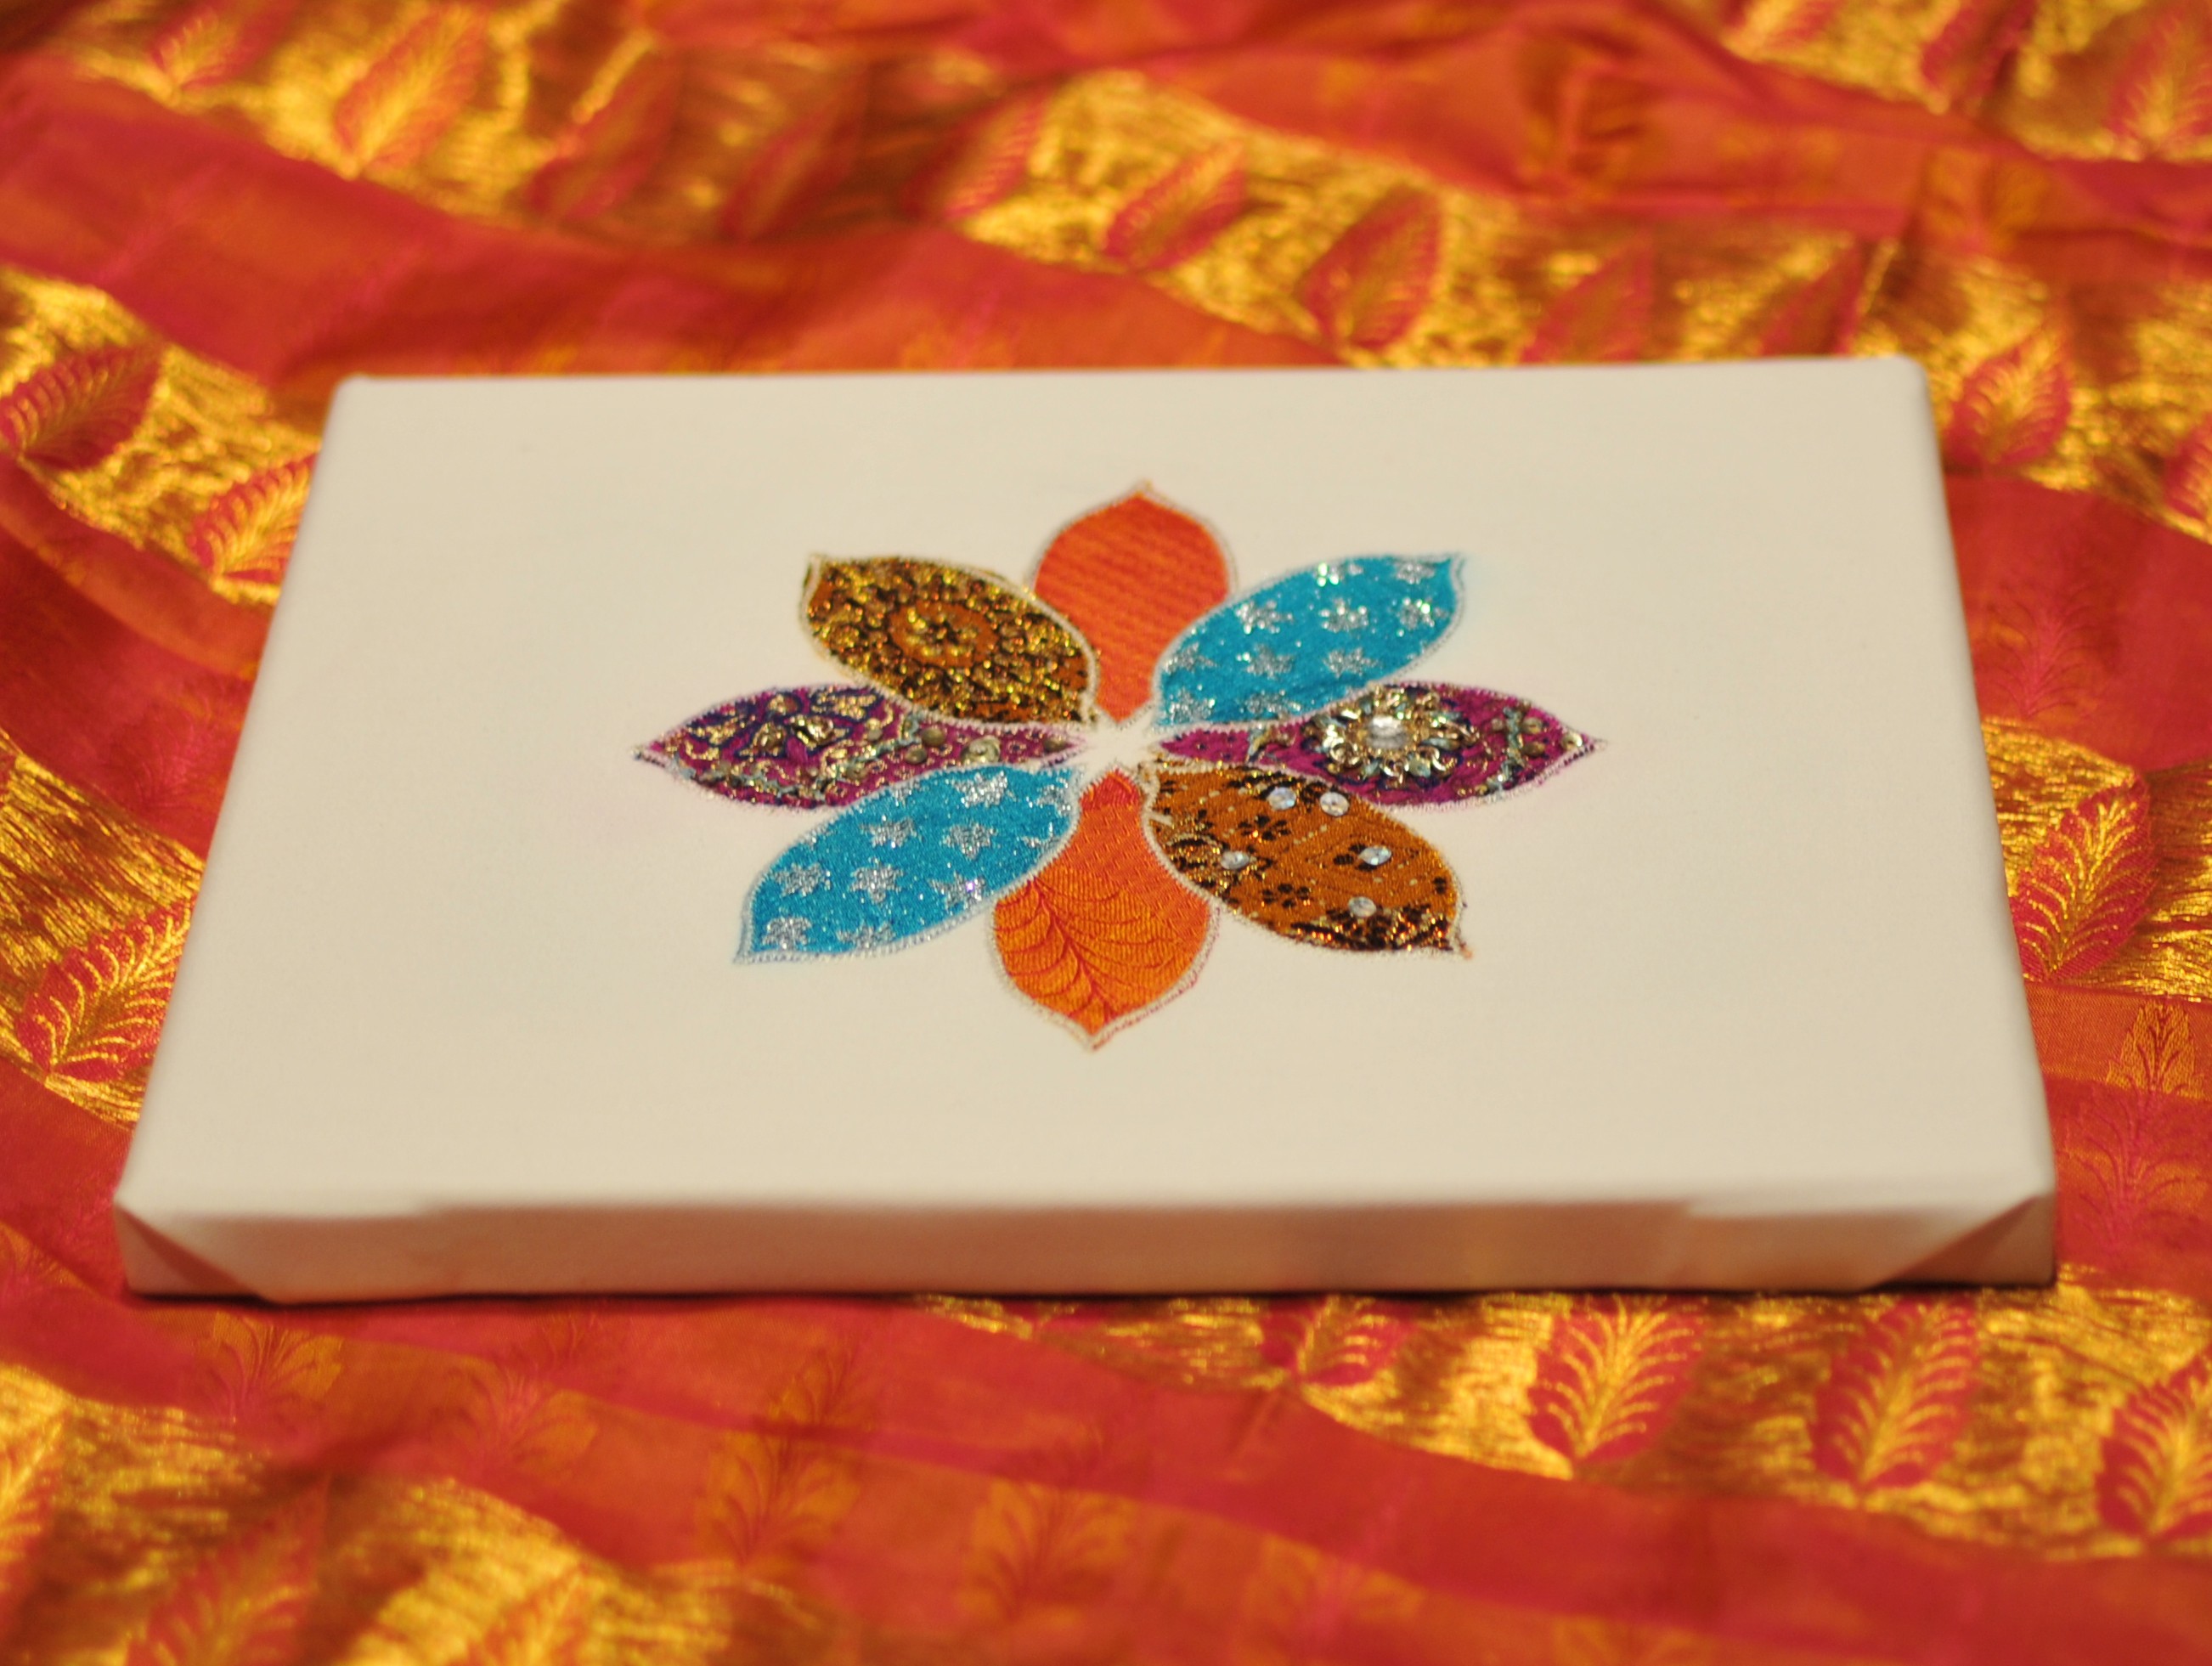
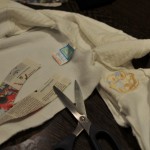
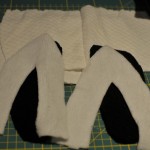
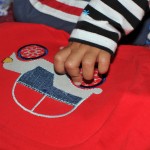
Stage 3 Bridal bag to match (for tissues and marriage vows) made from the actual dress off-cuts.