Quilted heart
This tutorial is to show how to perfect making the quilted pouch. I’m not going into how to free motion quilt – thats for another workshop – but what I noticed doing this class was that its difficult to get everything including the zip, lined up nicely, particularly with silks that pull easily.
Close the zip and you are done!
So this one is made from some old jeans. A layer of wadding is sandwiched between two layers of denim. I use some temp fabric glue and sew around the edge of the pattern to keep everything in place. Contact me for a copy of the pattern.
Then, its time to drop the feed-dogs and quilt a pattern. Its a good idea to draw something on your fabric using an water soluble pen. You don’t have to follow it exactly but it helps. This hearty one is inspired by Valentine’s Day.
-
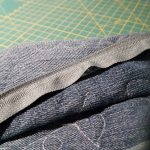
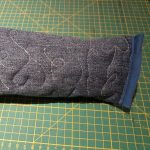
- Hearts free motion quilted with metallic thread.
-
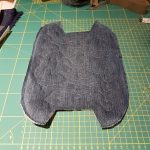
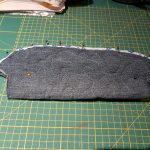
- This is the finished shape.
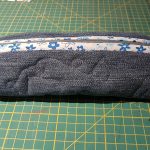
-
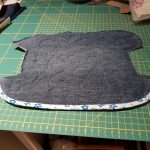
- Both long edges are bound with bias binding
Once both sides are bound (don’t worry about finishing edges nicely, they’ll be covered) you can attach the zip to the inside of the binding, nice and close. The first side is easy. Just pin in place and sew.
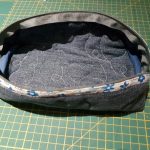
-
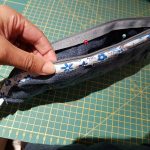
- Inside view of zip
-

- Zip teeth should be popping out from the edge of the binding, not too close though!
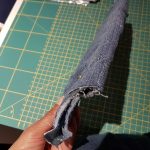
Attaching the second side of the zip is the trickiest bit! Making sure the zip is attached to the pouch so it all lines up.
-
- Fold the pouch so all edges of the pouch are aligned.
-

- Pin the pouch together at the bottom near the fold so it doesn’t move when attaching the zip.
-
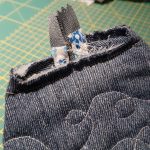
- Pin the zip to the other side of the pouch.
-

- Close the zip and ensure the ends of the pouch line up. If not, re-pin as needed.
-
- Ensure the ends are still aligned.
-
- When laid flat it should look like this
Once you are happy with how the pouch and zip line up, sew on the zip.
Sew up both the ends.
-
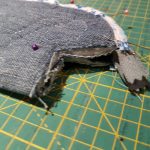
- With the pouch inside-out, close the zip a few centimetres and flatten the pouch, so the edges of the pouch are lined up and the zip is in the centre. Sew across.
-

- Sew the second end in the same way. The open zip end is trickier as you can’t close the zip so ensure you line up the zip ends and pin both sides of the zip.
-
- Once both ends are sewn, trim the zip ends and denim.
Finish off.
-
- Bind both ends with coordinated bias binding. This will be in on the inside of your pouch.
-
- That’s it! Turn your pouch inside out.
-
- Close the zip and you are done!
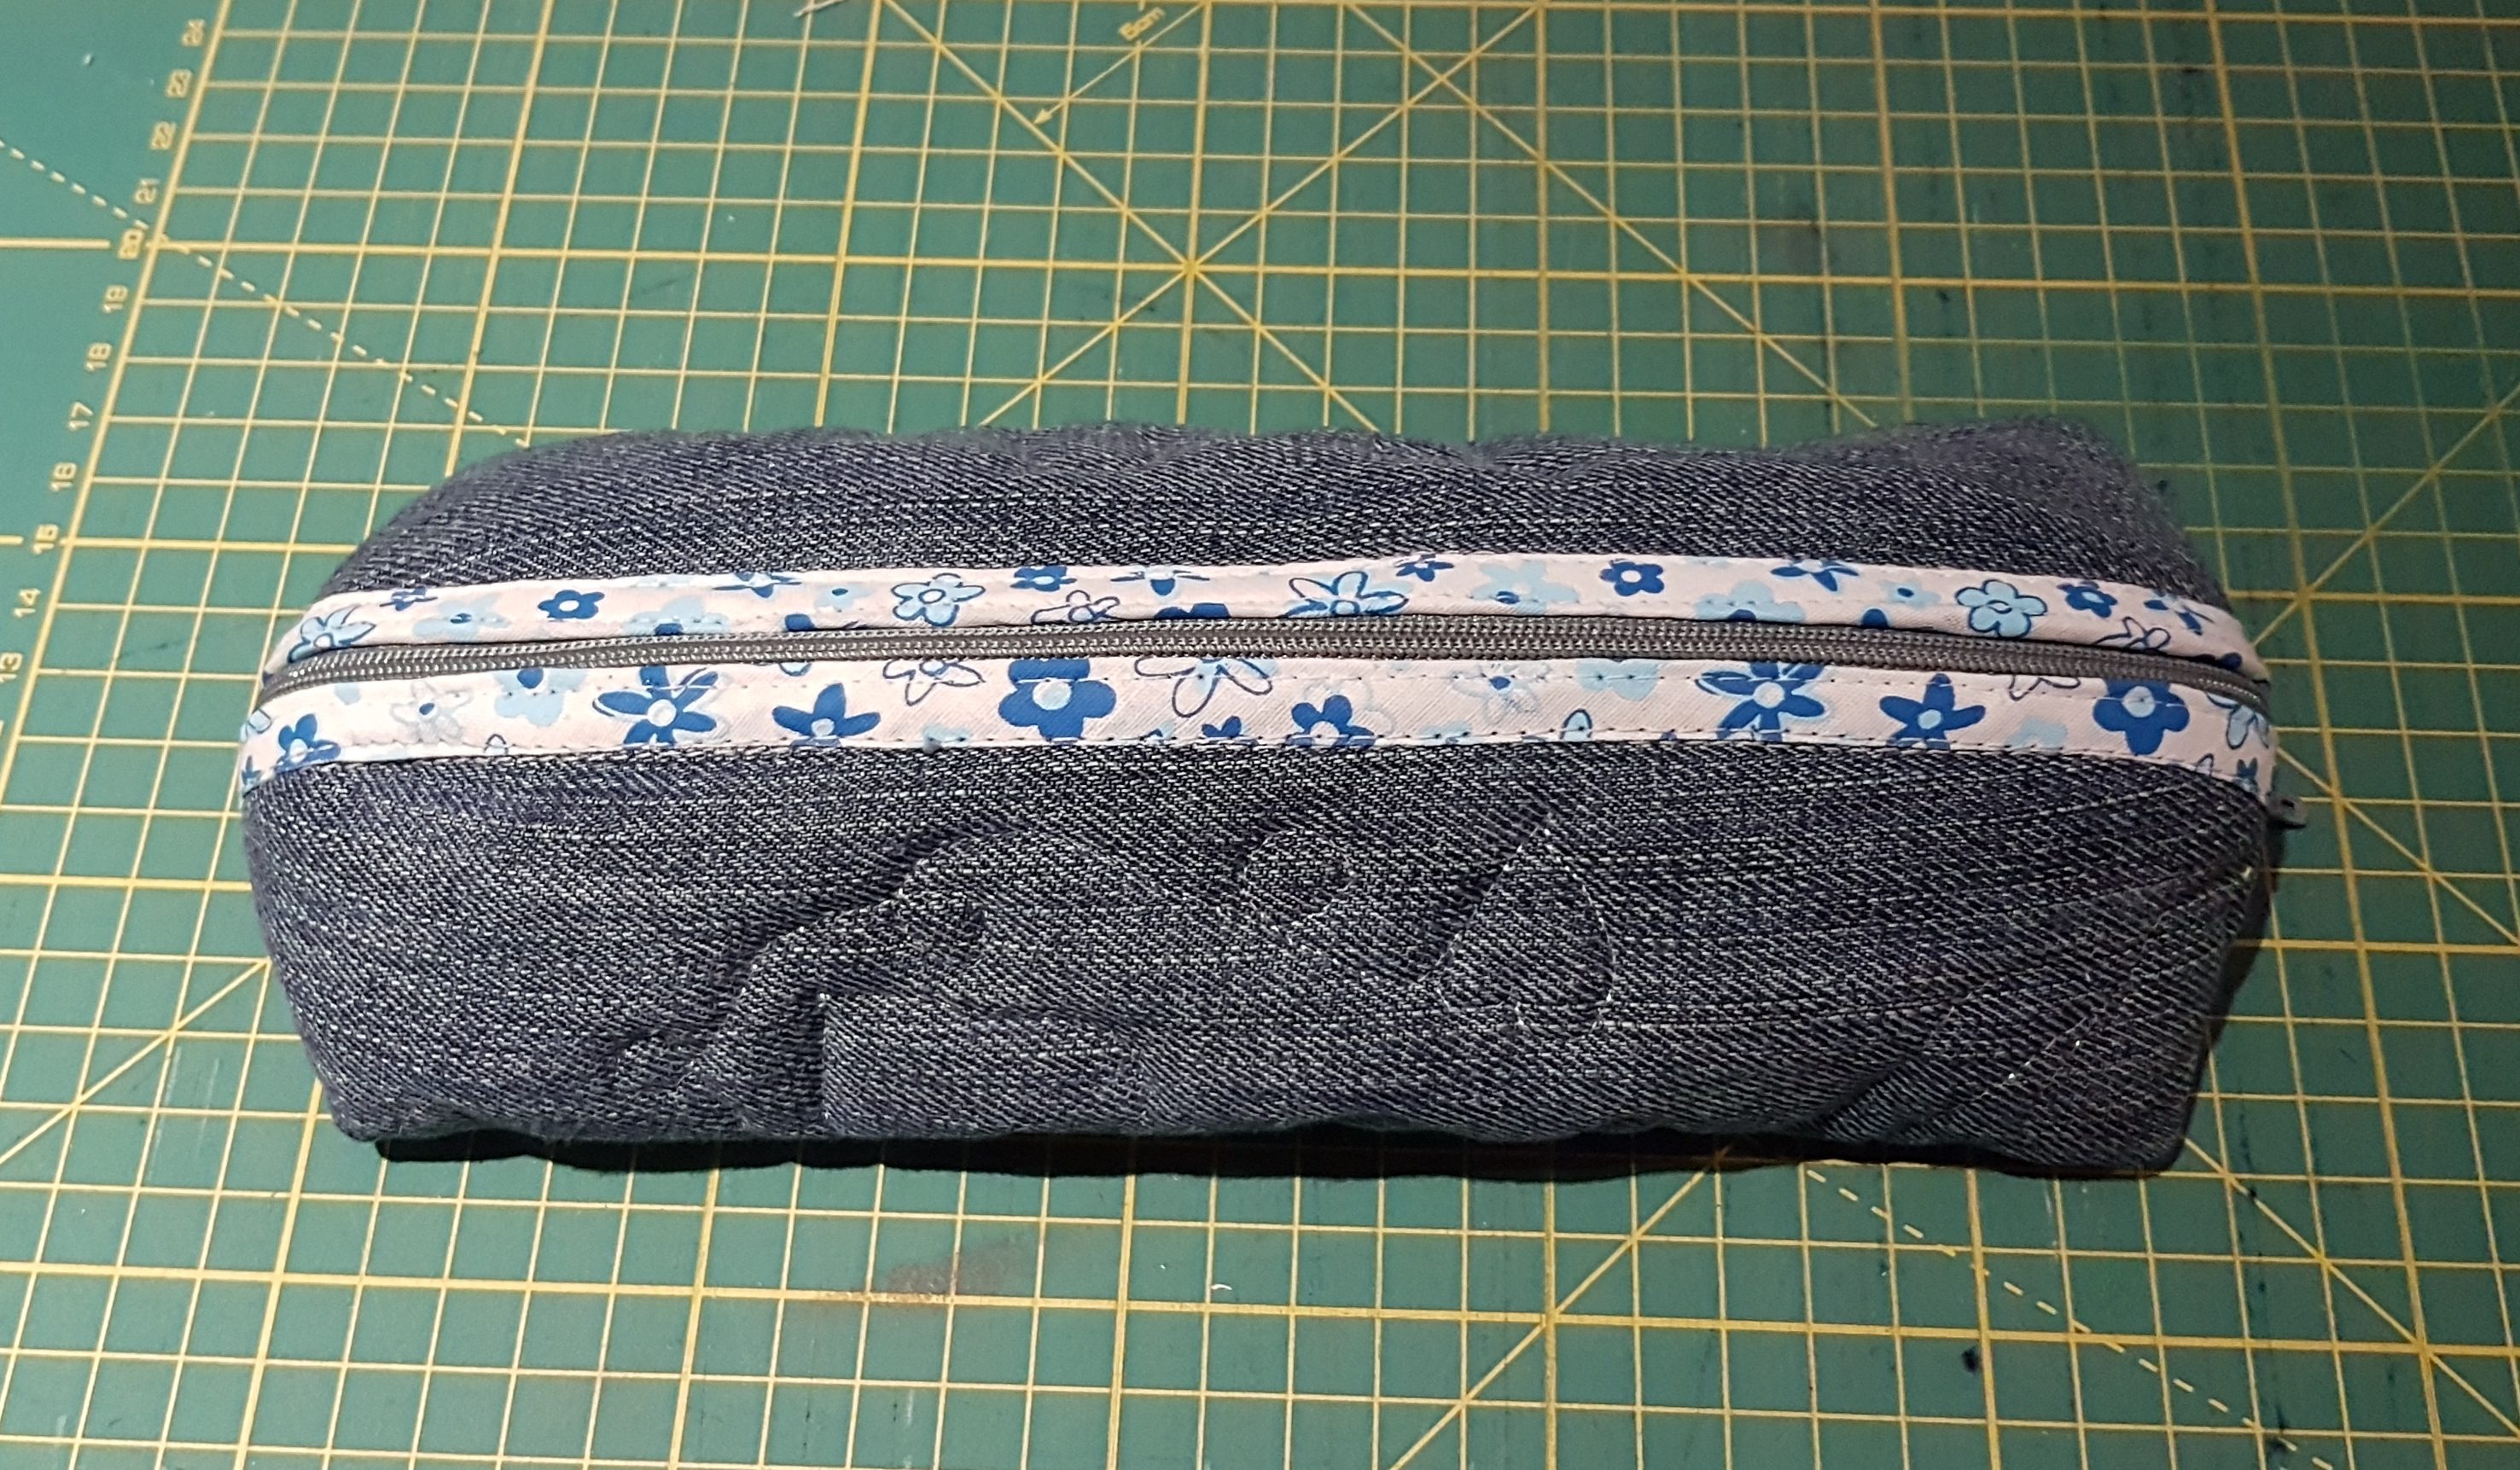
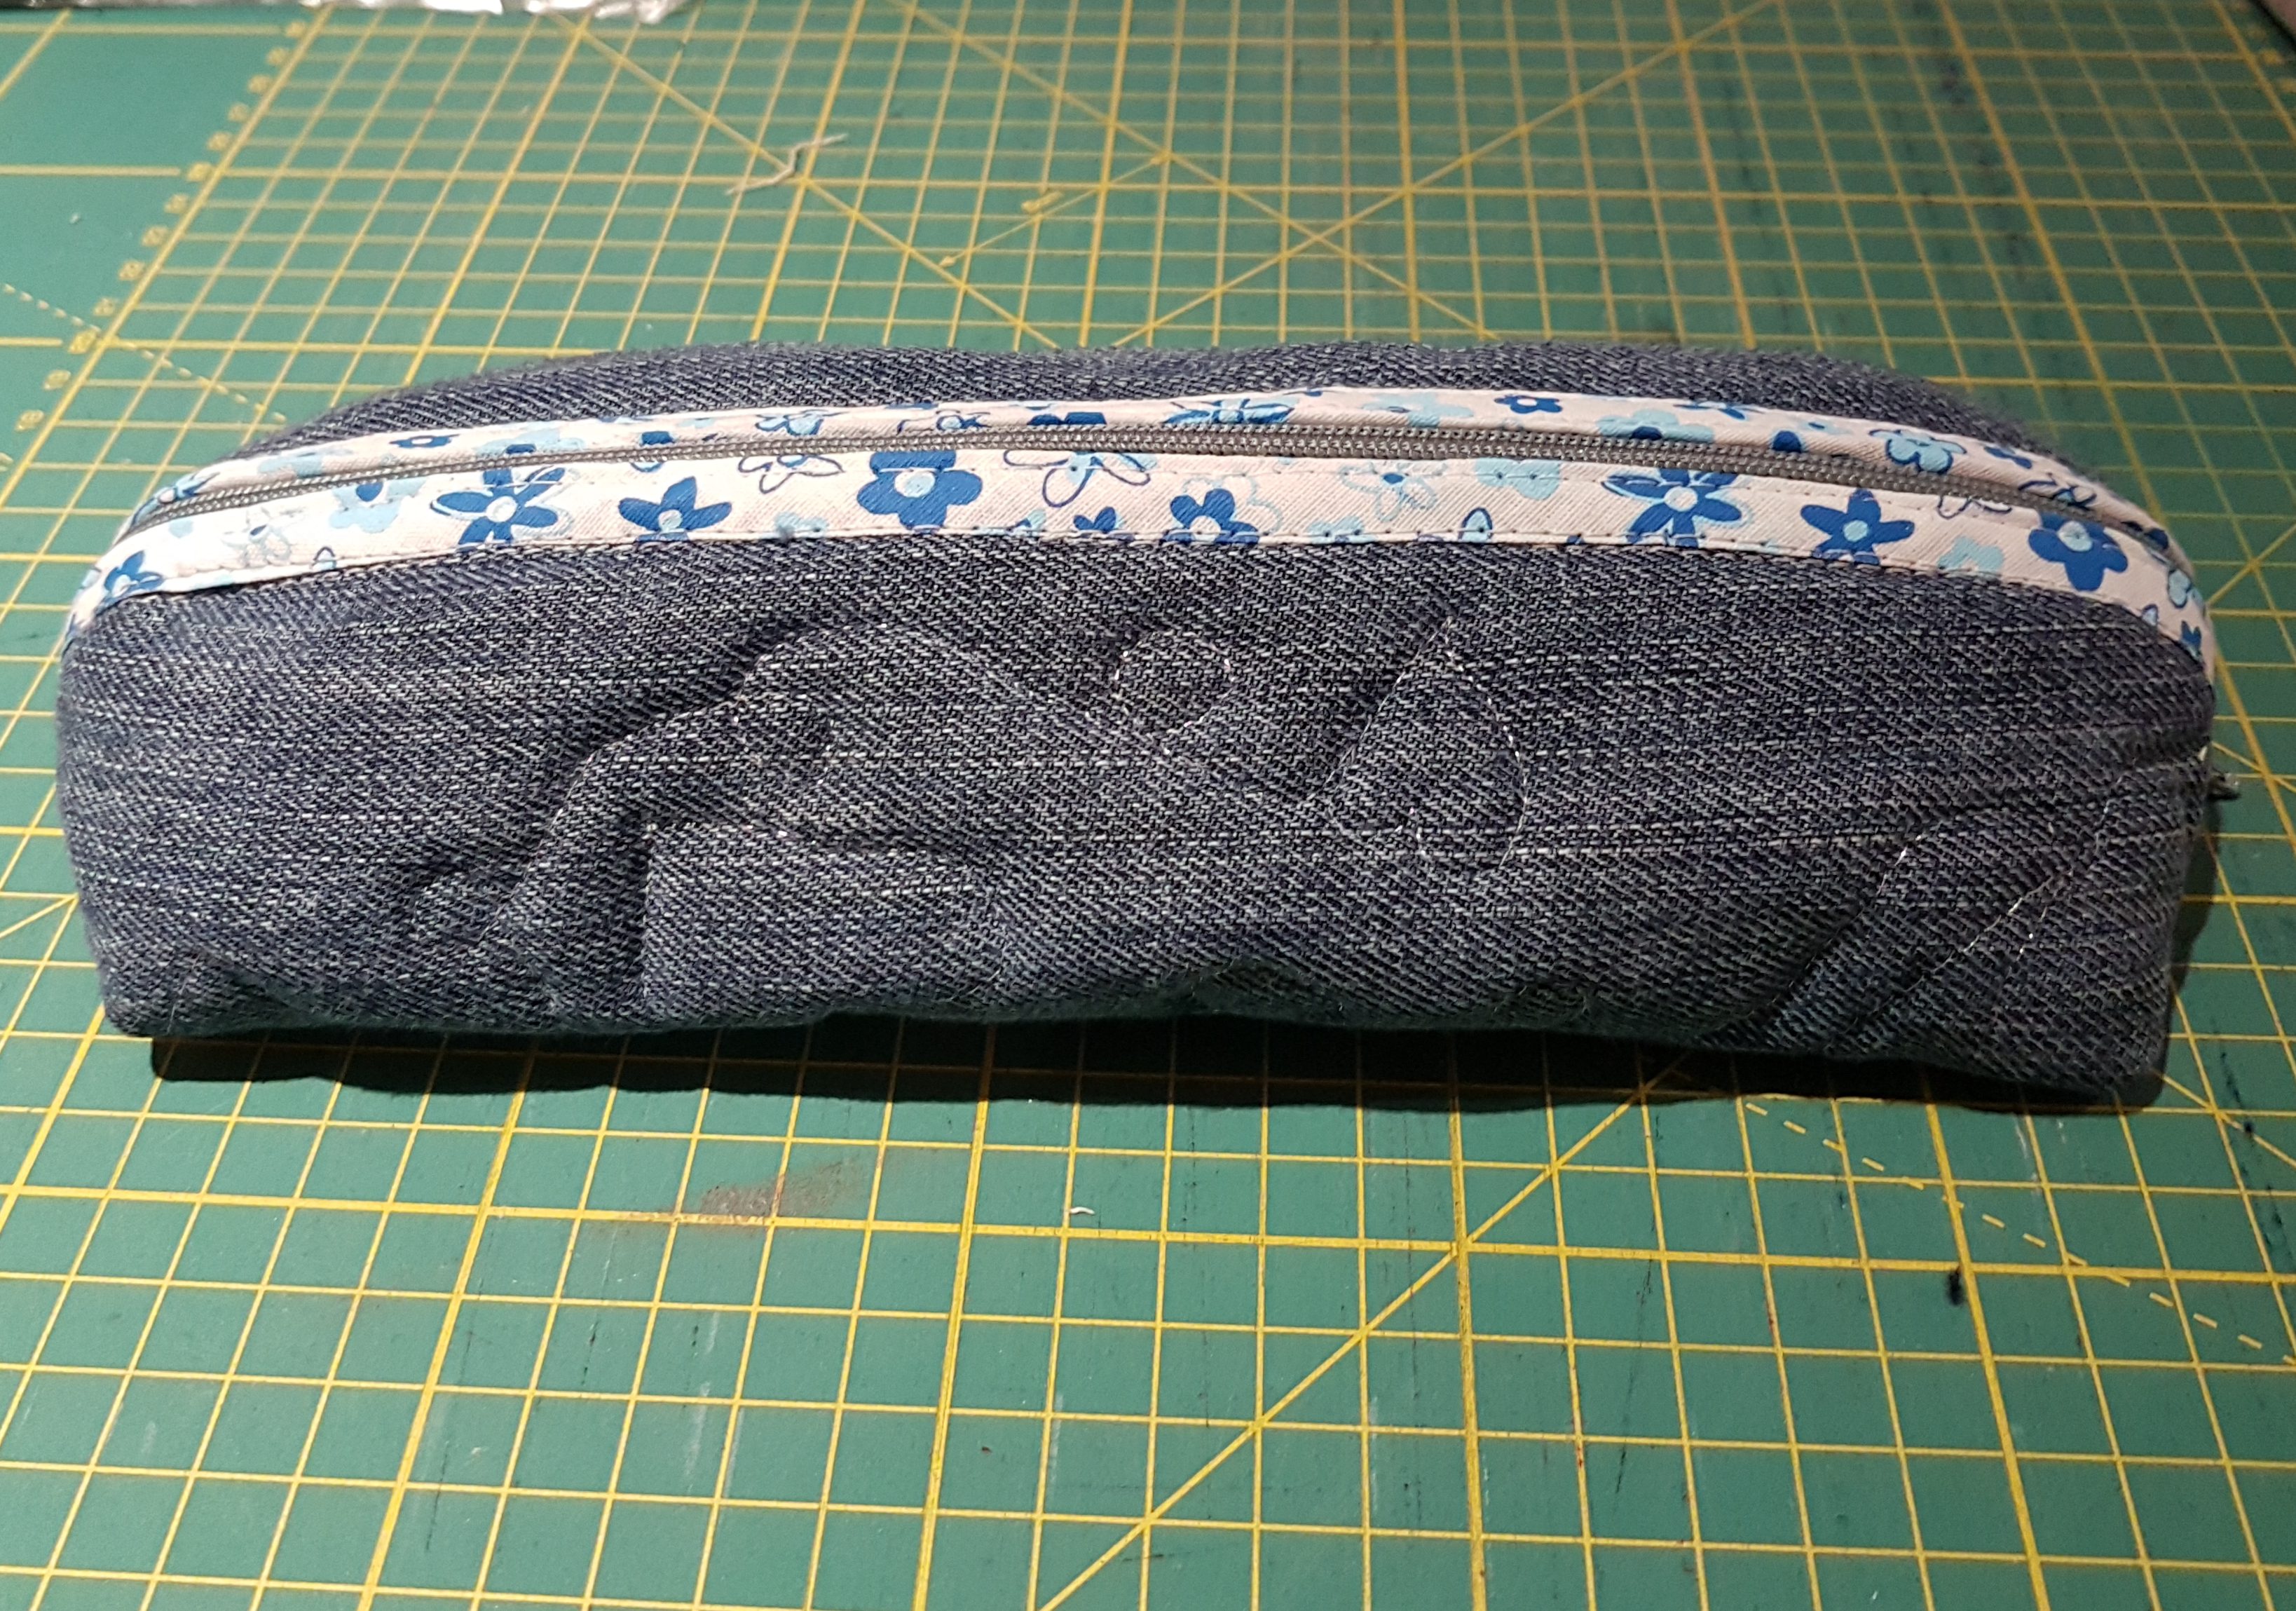
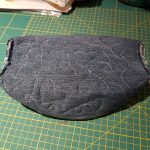
So hopefully you end up with something resembling this:
-
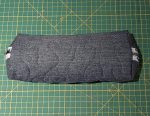
- Bottom, all nicely aligned and no pulls
-
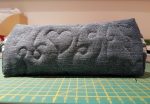
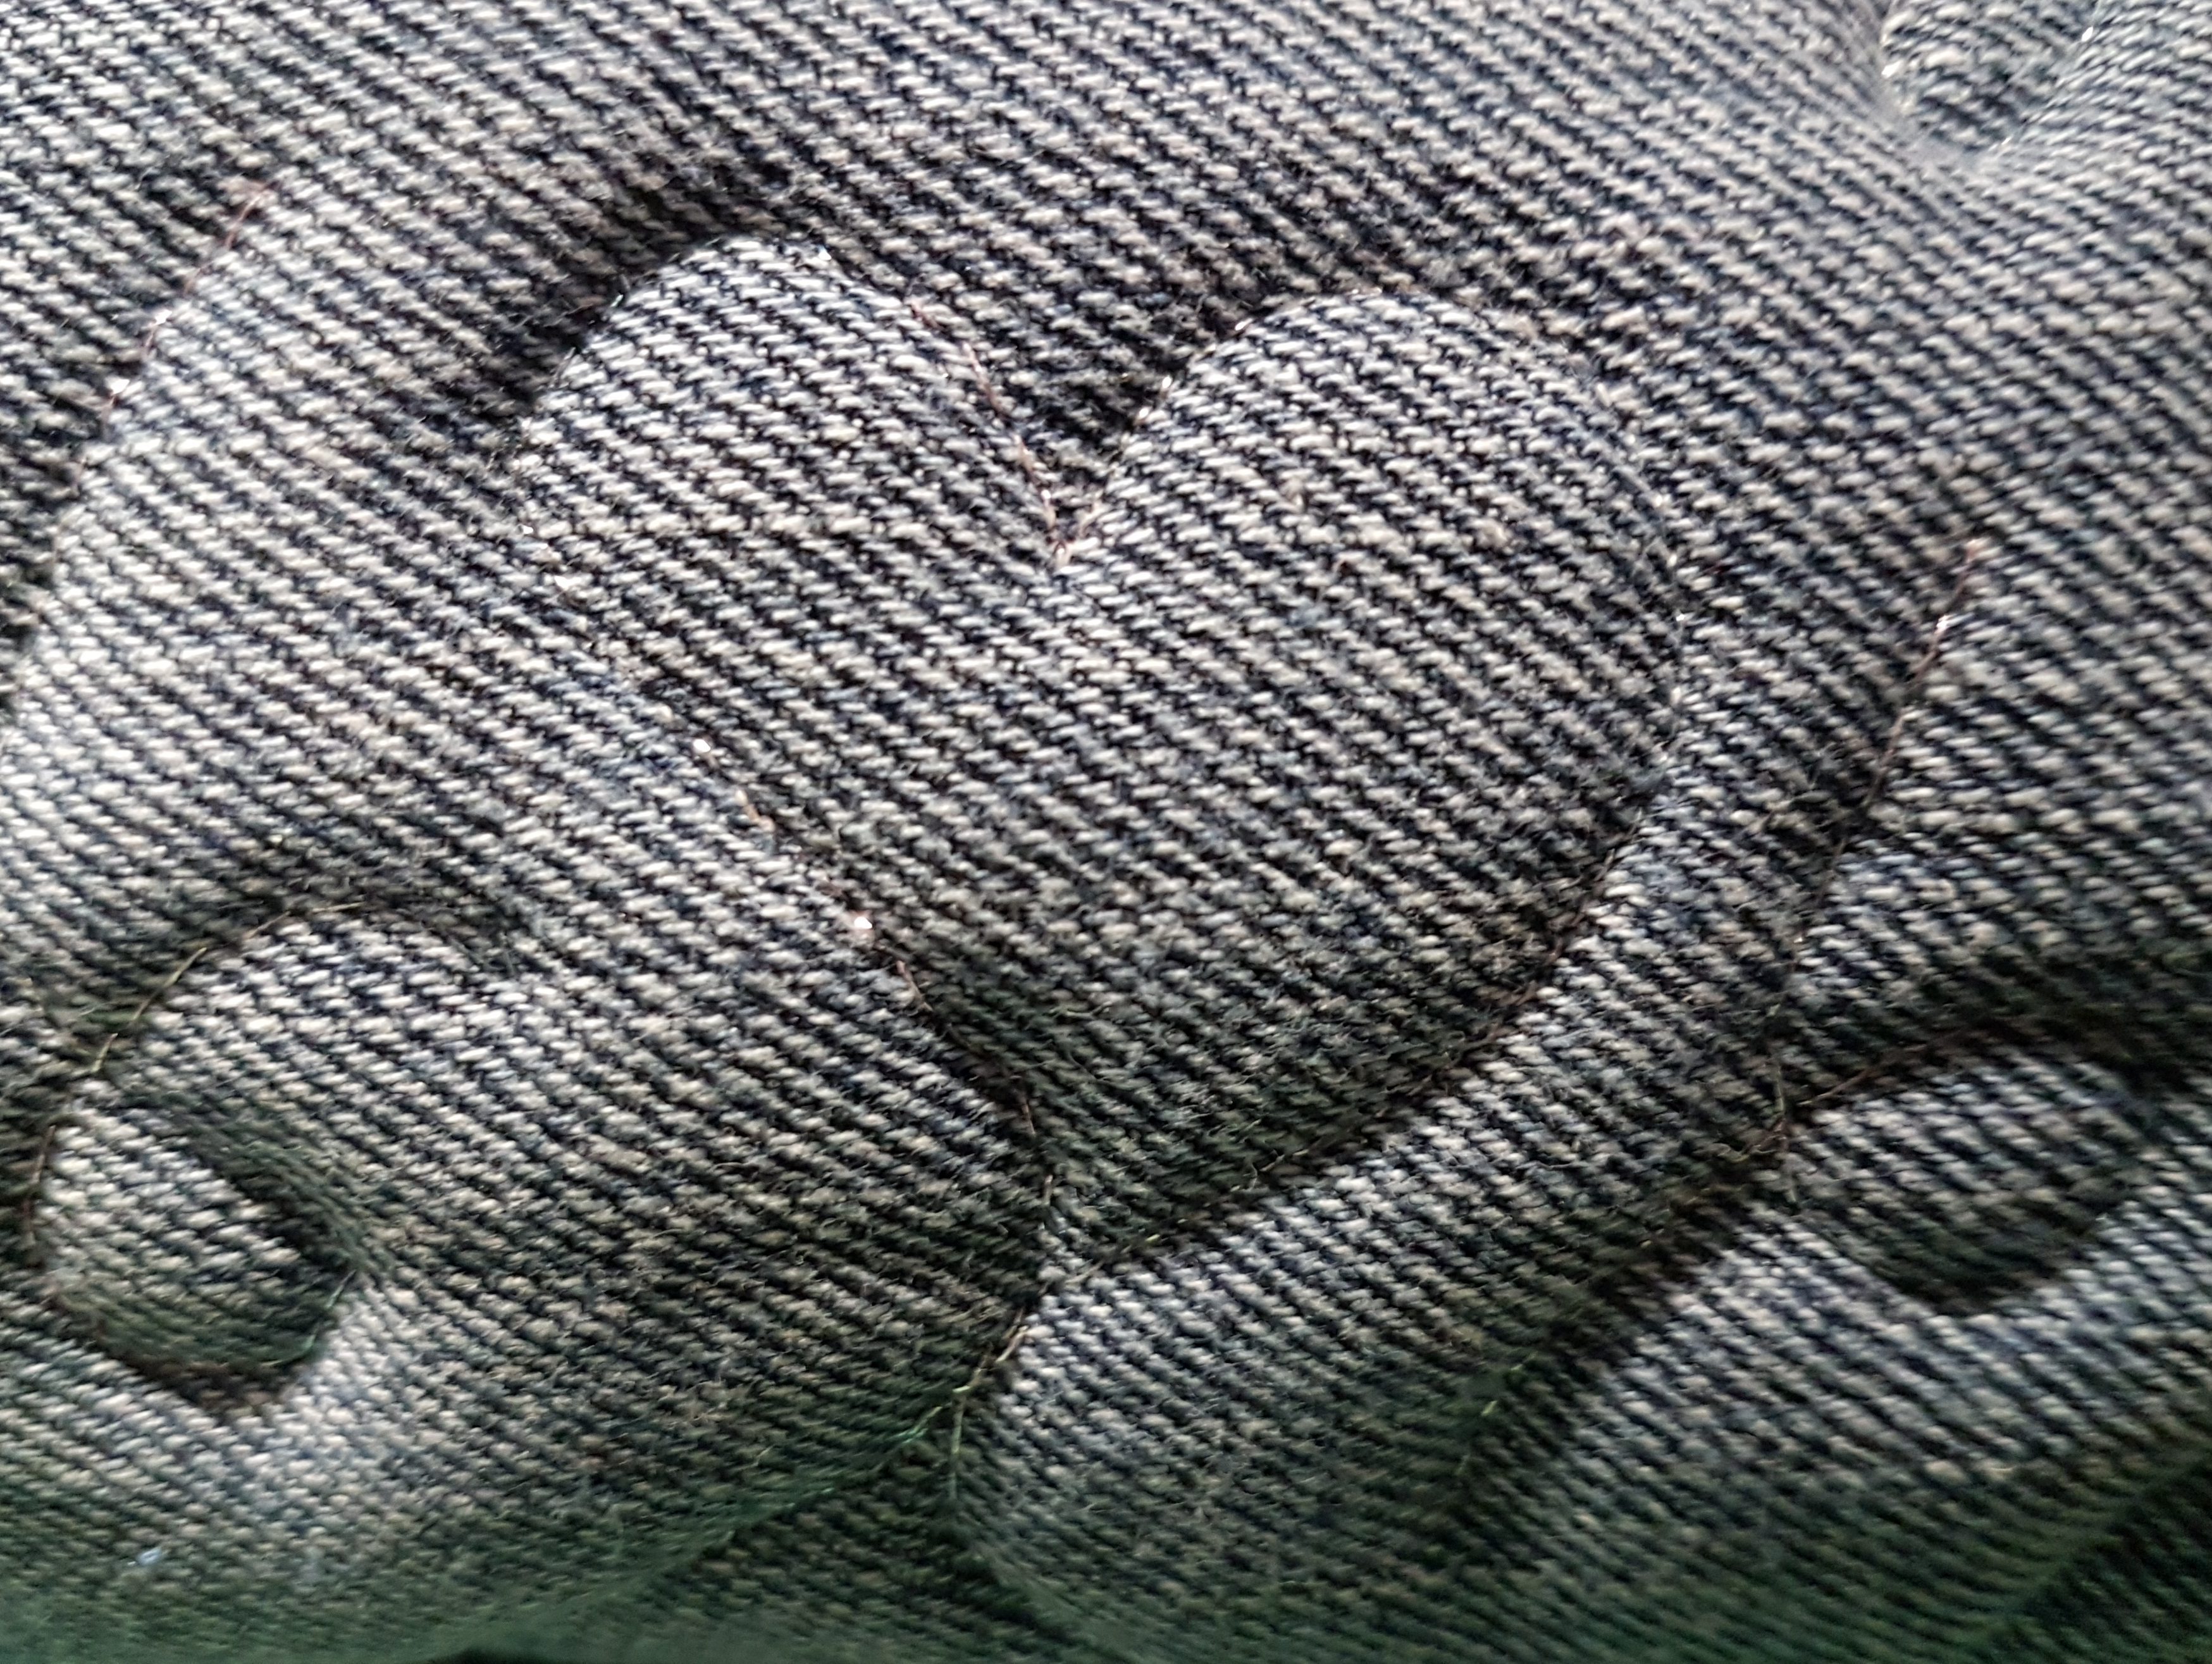
- Quilted pattern
Ta daa! Hope yours works out too!